
Building a Recumbent Bike: A Photo Report
Originally written in Polish and translated into English.
Hello!
From the start of my studies I planned to design and build a human-powered vehicle, fairly fast and with an aerodynamic fairing. The initial plan was to build a tandem quad, then a trike, and it ended up as two wheels and one seat ;)
The idea alone is not enough. I had to find some materials, plans and so on. I expected people who post them online to be a bit reluctant to share, but I was wrong. He who seeks finds, and he who asks is given ;)
1. Plans
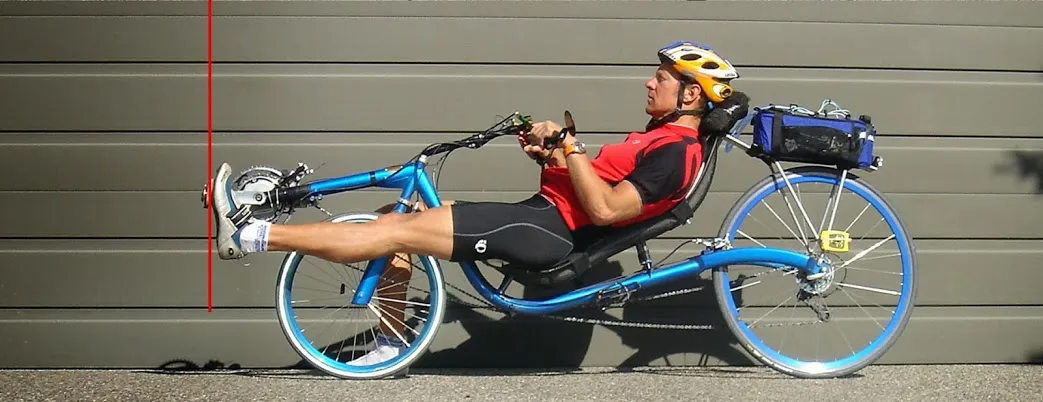
After analysing everything, I picked one photo of a bike to base my new build on. It is a lowracer-style bike, though not quite as low-slung ;). The seat is about 40 cm off the ground, which is an optimal figure for my first attempt with a new type of bike.
And here is the base bike:
2. Starting the build
With a concrete idea and a base for my own vehicle in my head, I got to work. I started collecting parts as early as May 2013, hunting for bargains on a well-known auction site. The search took quite a long time, but it was worth it. The last essential part officially arrived in mid-October.
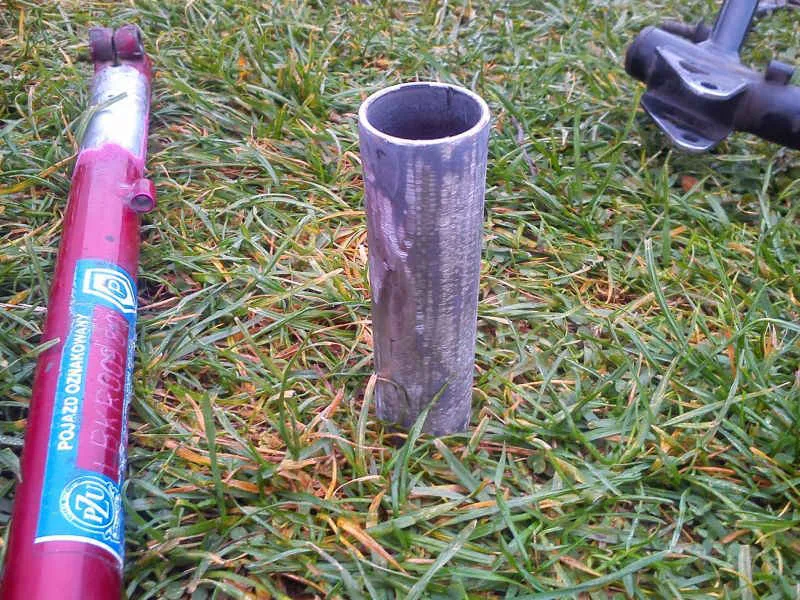
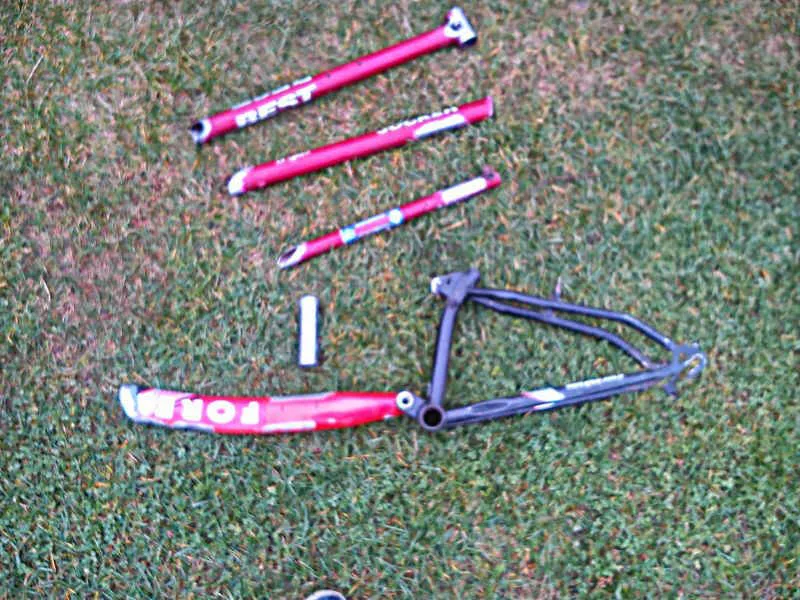
Since I did not have suitable aluminium tubes, let alone a TIG welder, which is the best way to weld aluminium, I had to stick to standard steel tubes and profiles and weld everything with a MIG welder. I got some of the tubes from old bicycles, which cut the costs considerably:
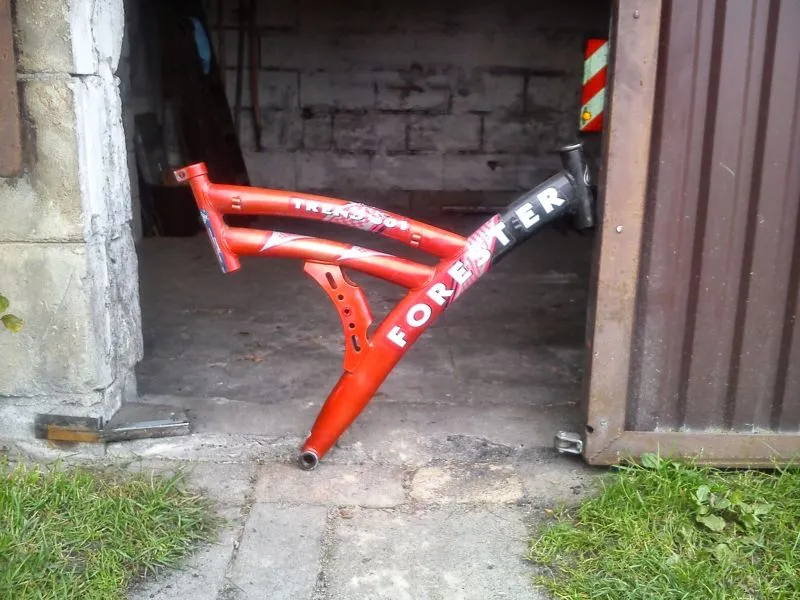
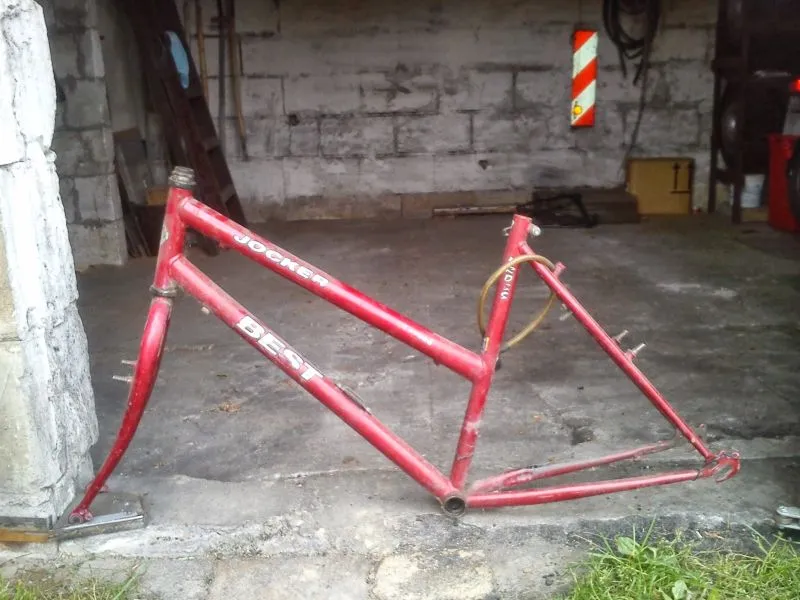
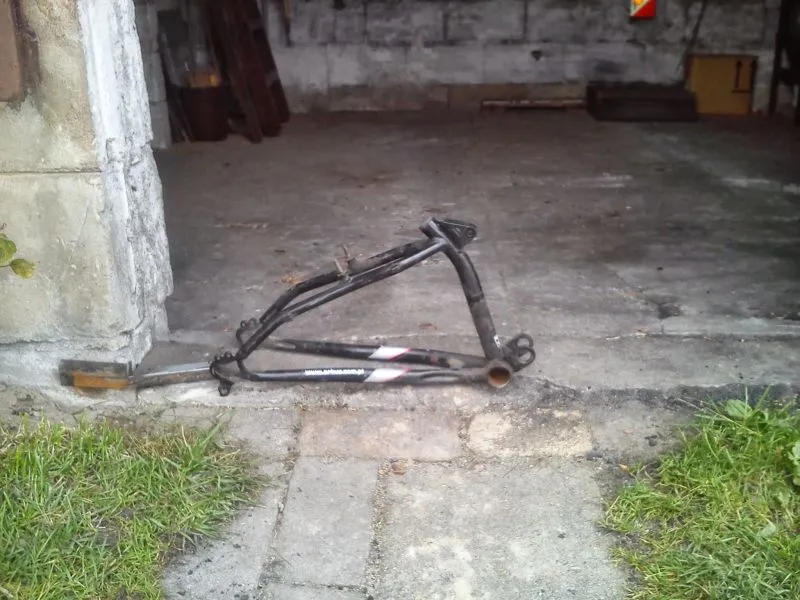
After drawing the whole bike on cardboard at a 1:1 scale…
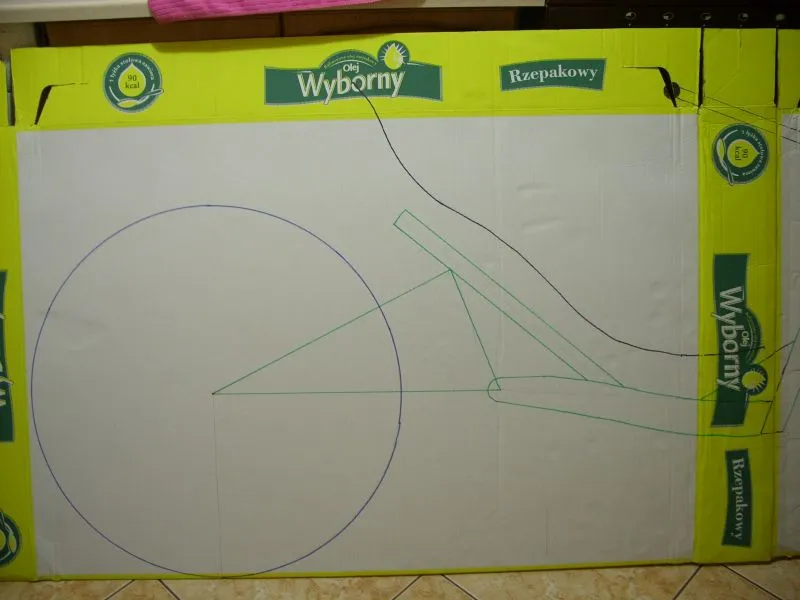
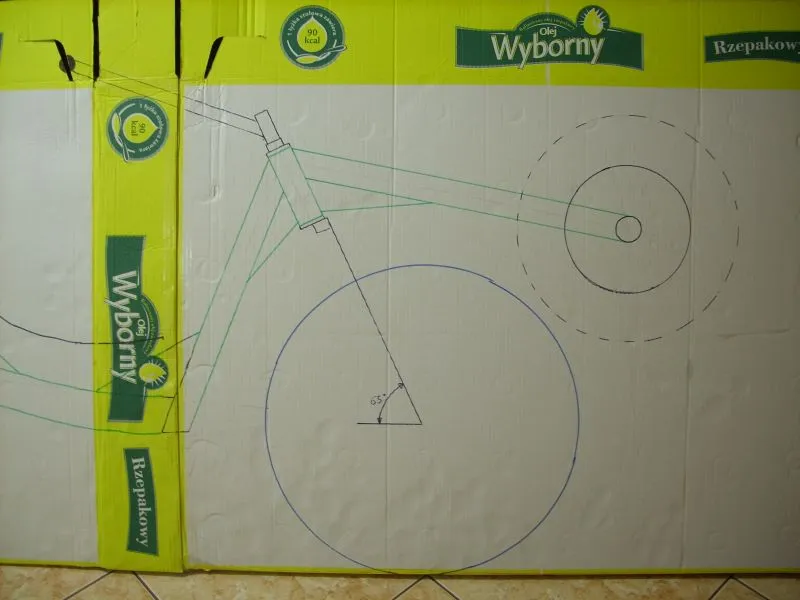
… I started cutting the tubes and laboriously fitting them together.
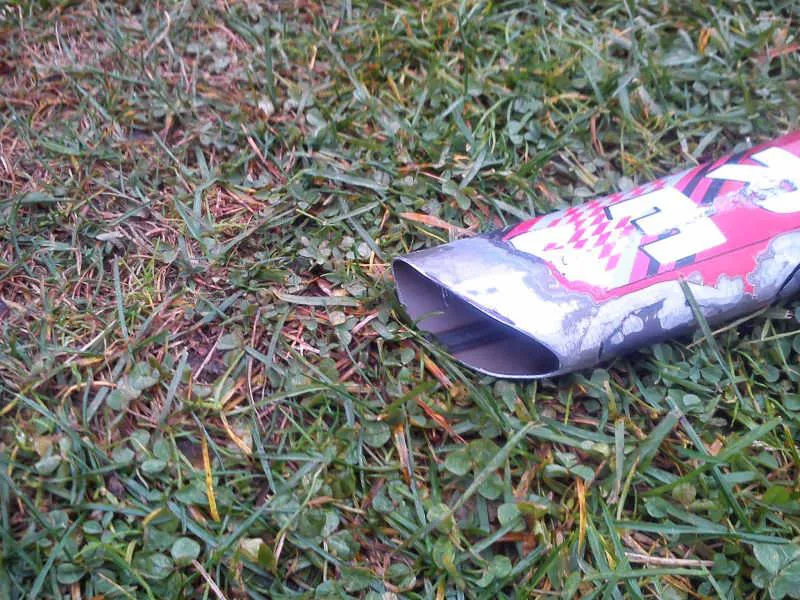
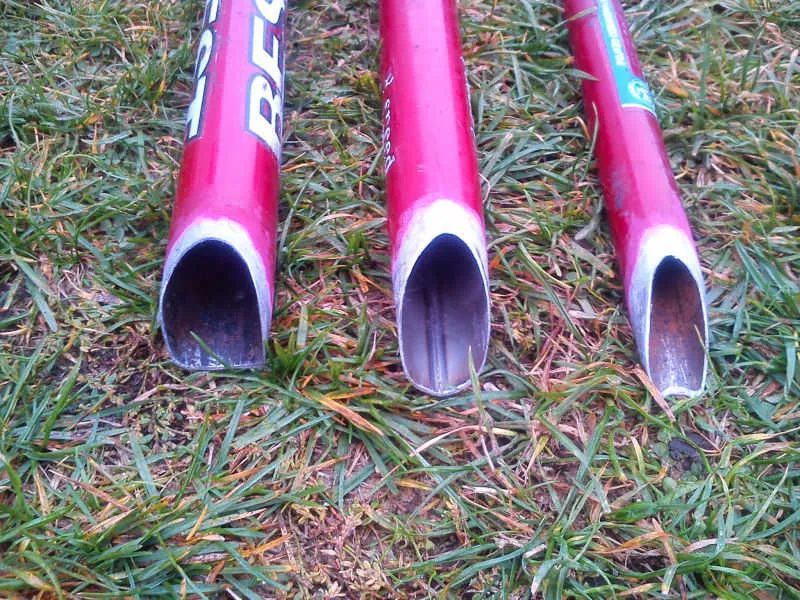
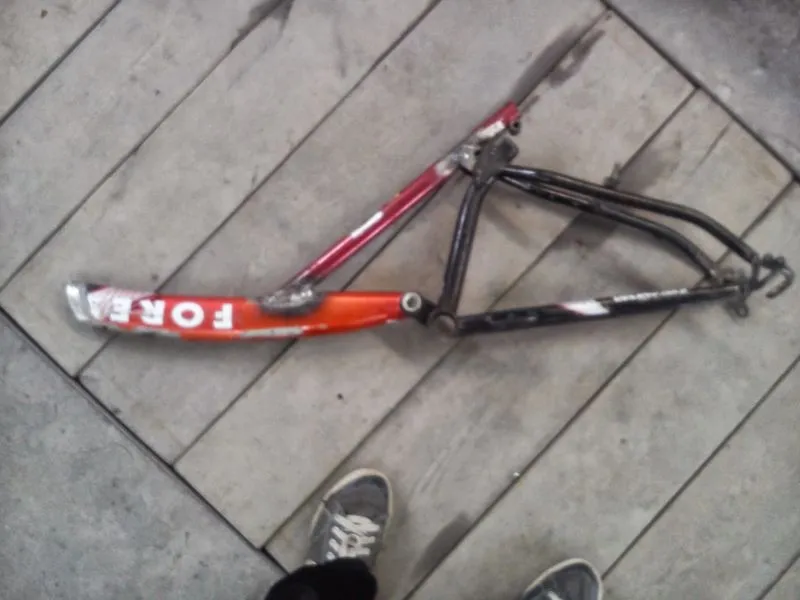
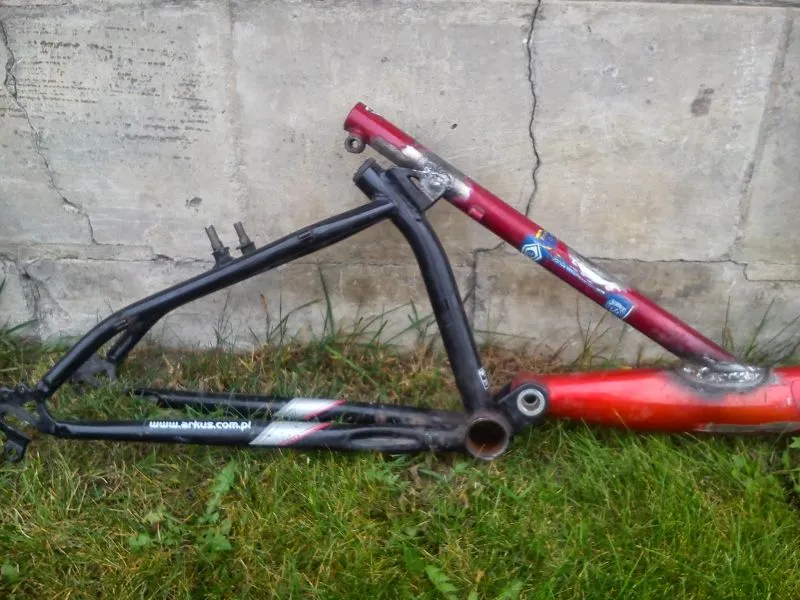
Then it was time for welding… It was not hard, but it took a good 2 hours with a watch on my wrist ;)
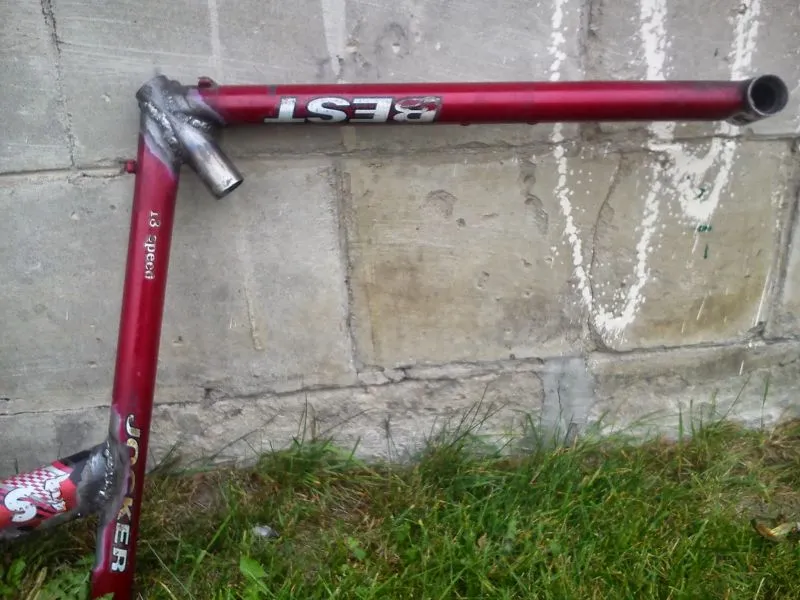
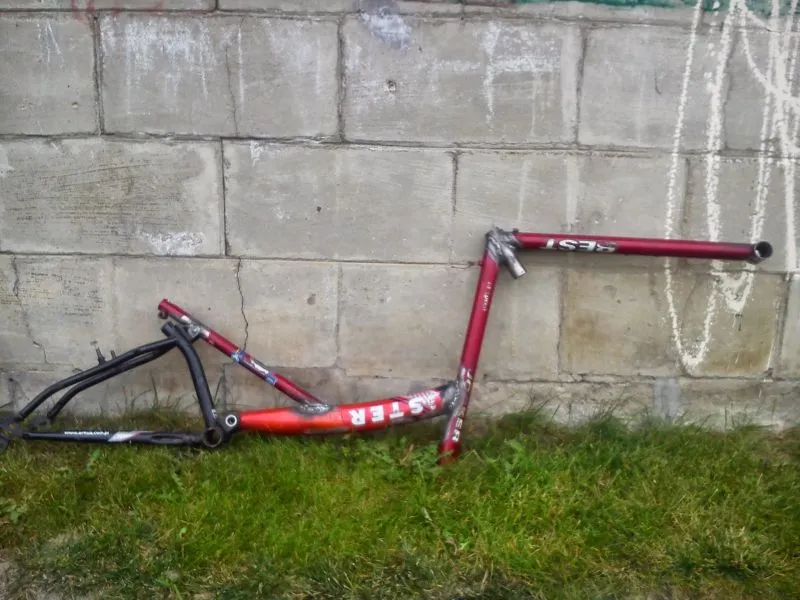
Almost immediately I started fitting the most necessary parts, such as the headset, fork and both wheels:
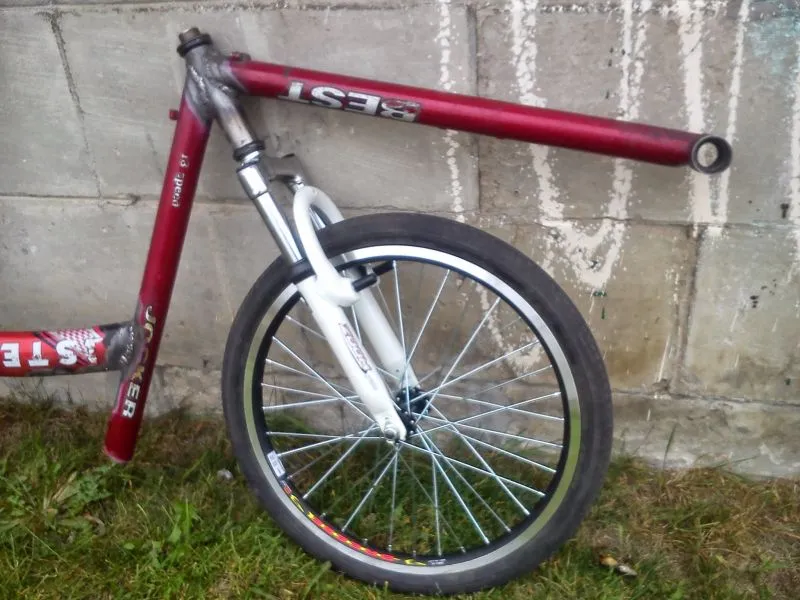
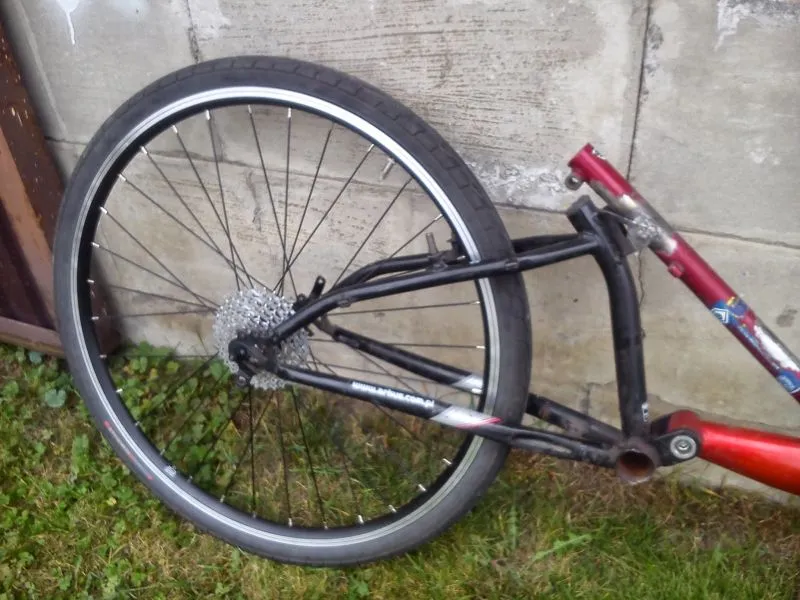
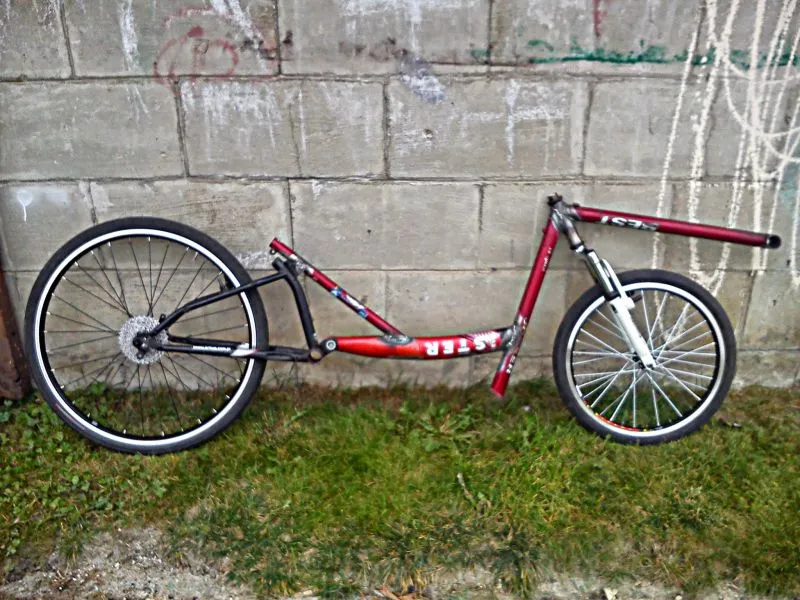
As with everything, nothing is perfect… I did not have a proper jig to hold the tubes, hence the small geometric deviations in the frame. After a bit of wrestling with the tubes, I managed to straighten the whole structure. After grinding the welds and stripping the outer layers of paint, it looks like this:
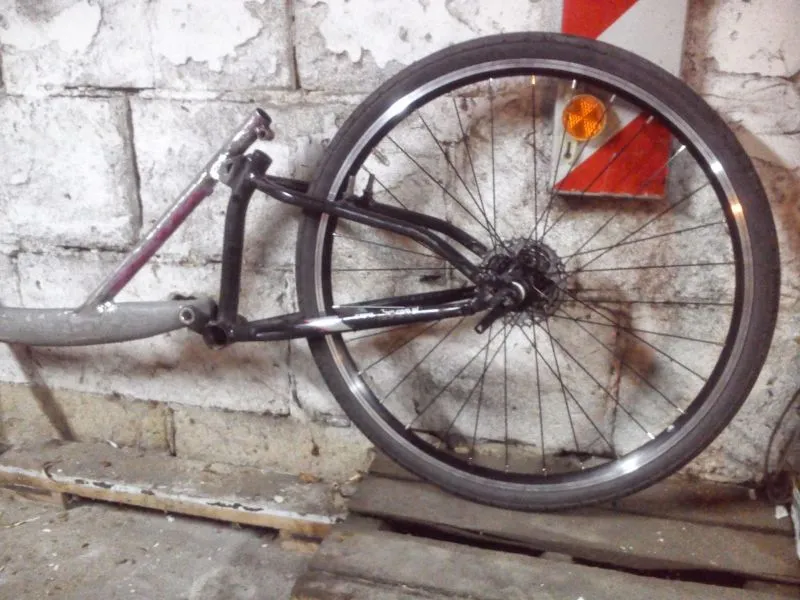
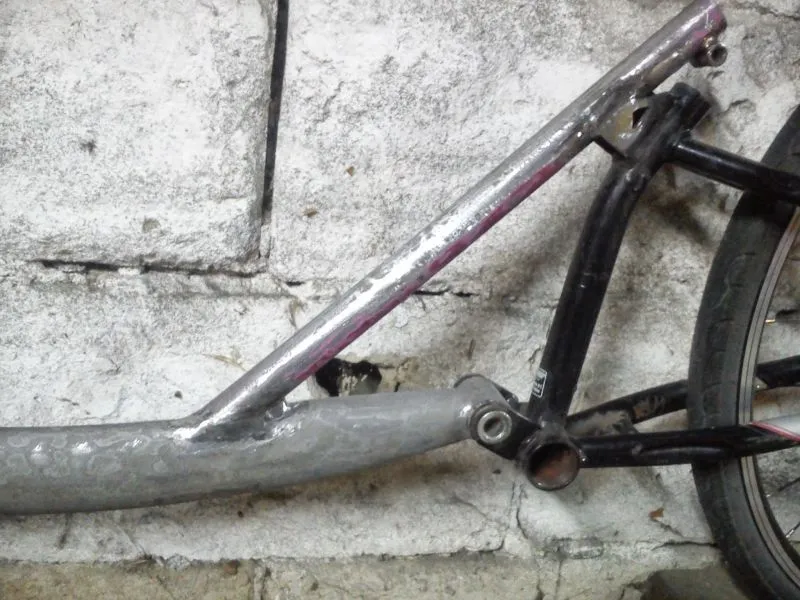
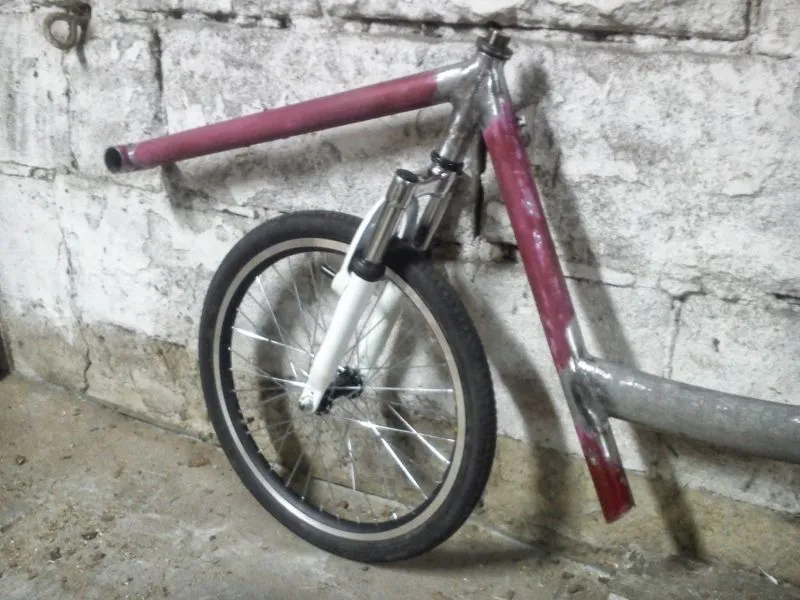
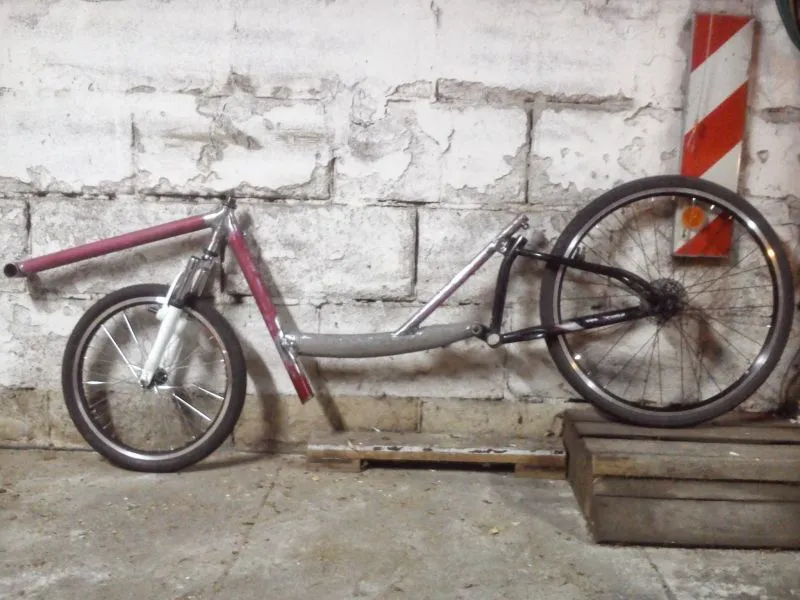
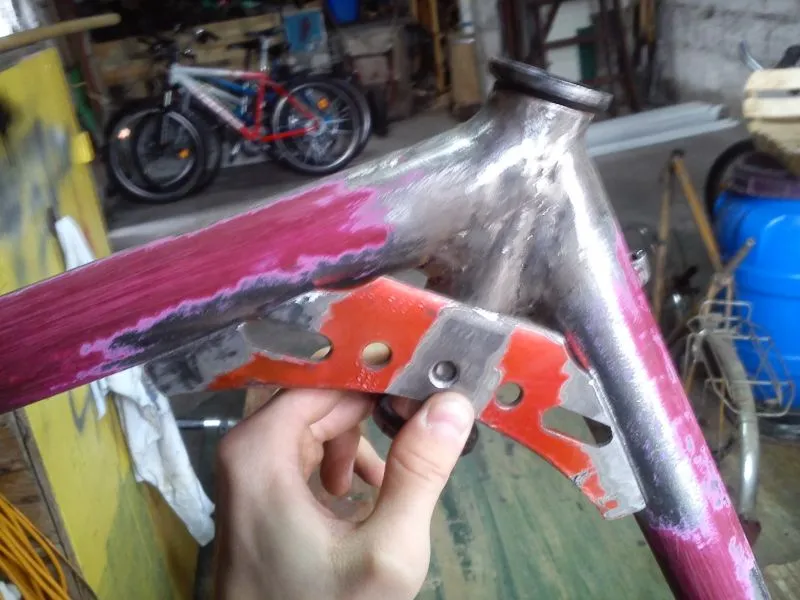
The next step was shaping the appropriate reinforcements and supports. A reinforcement at the head tube and one under the seat were mandatory. The latter has two jobs: to strengthen the frame and to provide a mounting point for the seat mentioned above.
3. The seat
From a purchased 15 mm plywood sheet I cut two profiles based on a PDF file I found on forum.poziome.pl. As is often the case, no two parts are ever identical, so I had to help them along with a wood rasp to make them fit at least a little.
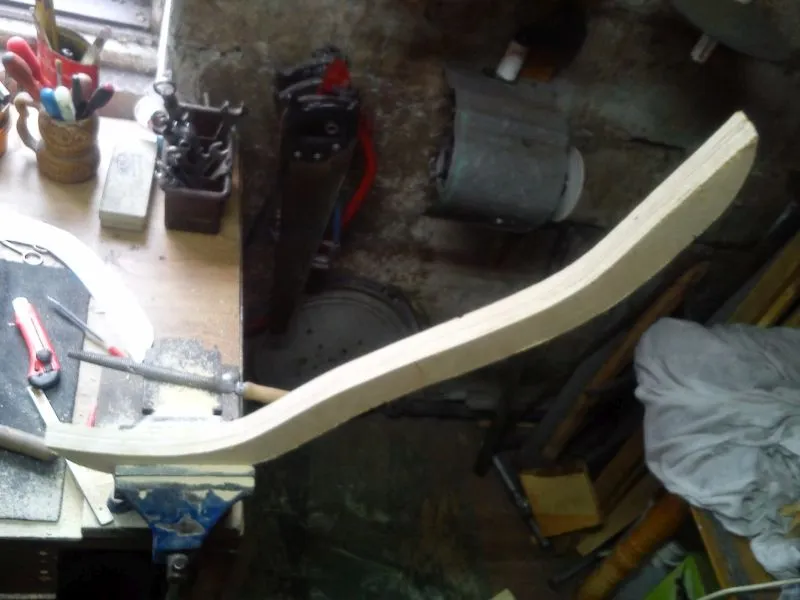
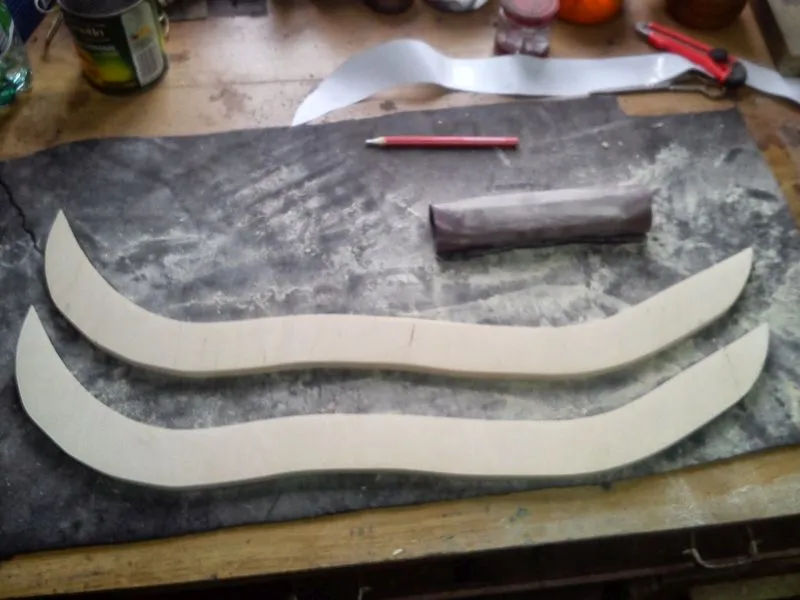
As you can see, it went without major obstacles ;) Then came the sanding. First up was 60-grit sandpaper. As I had no belt sander, I had to work by hand. It was not hard and the result was very satisfying. Of course, after the 60 came 100 and 120.
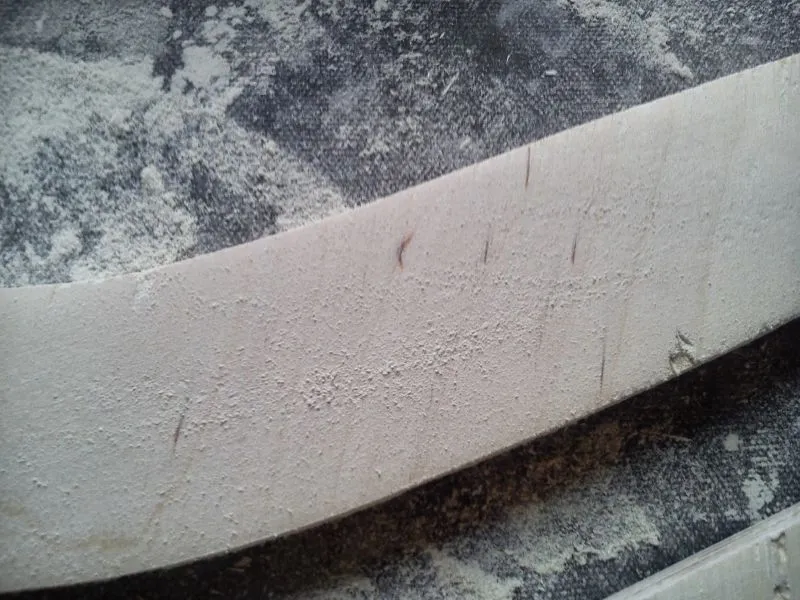
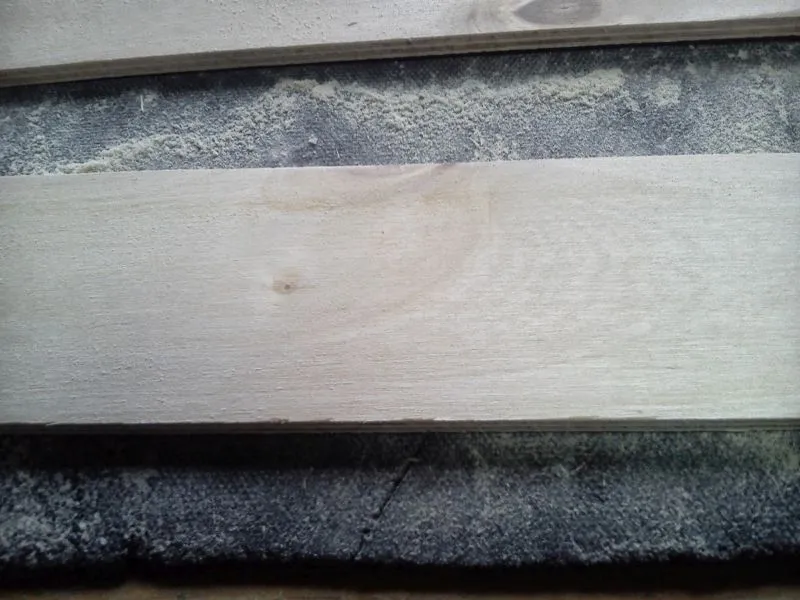
Next I made two connectors. I initially set the main profiles at an angle so that the seat slats would fit better. The idea worked, although it is not very visible in the photos.
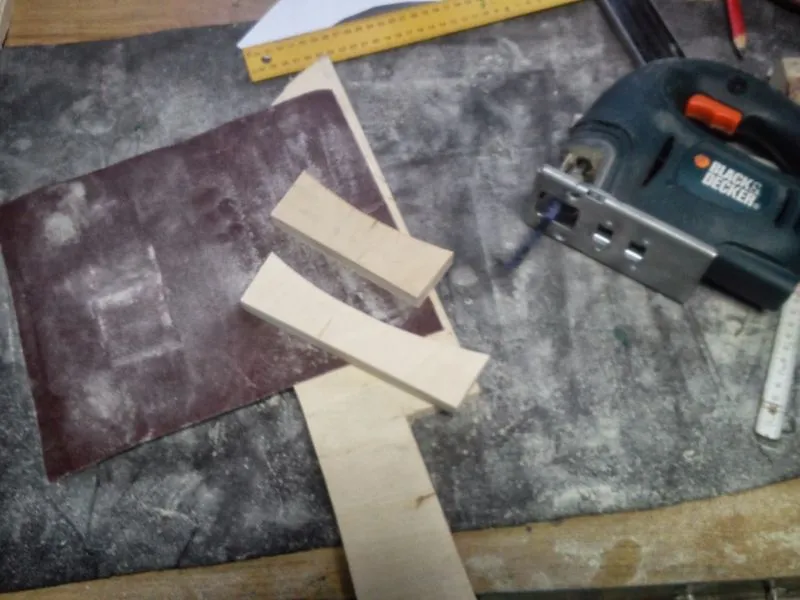
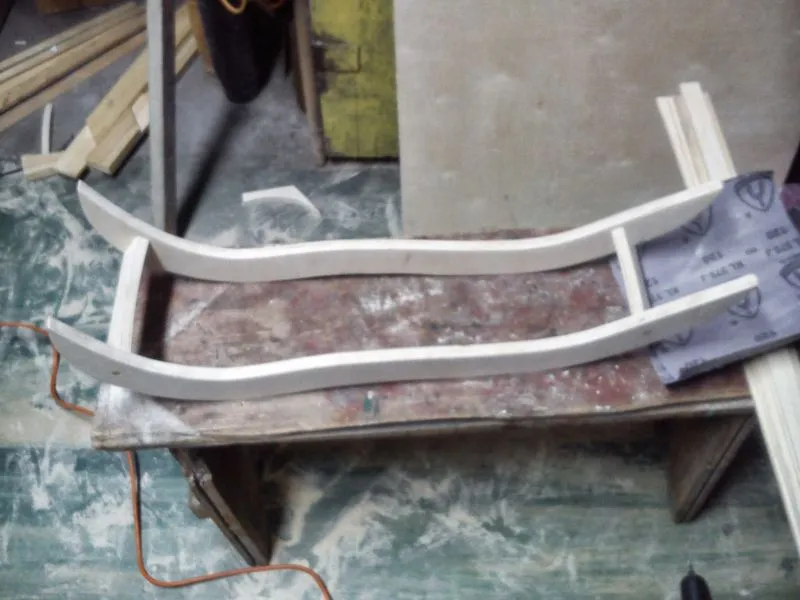
As you can see, the lower support is wider than the upper one. The lower one is 17 cm wide and the upper one 13 cm. The third photo shows the whole thing with three connectors.
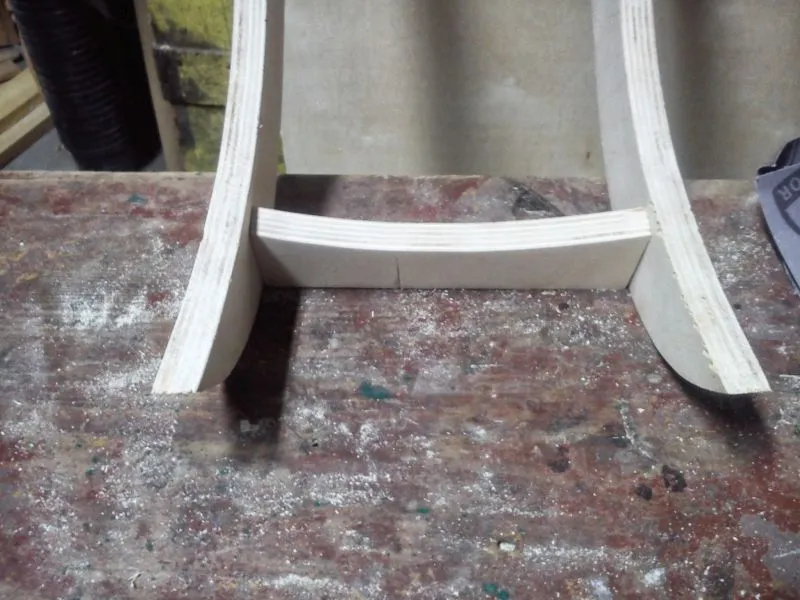
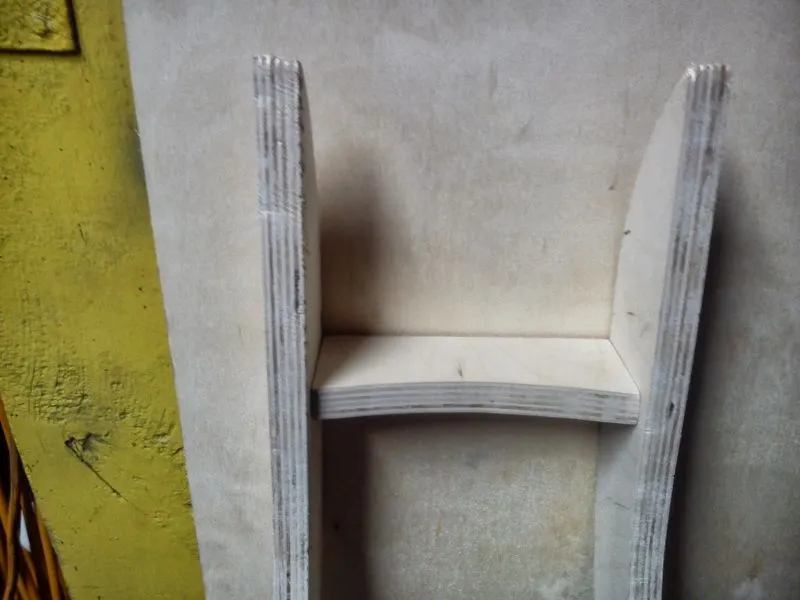
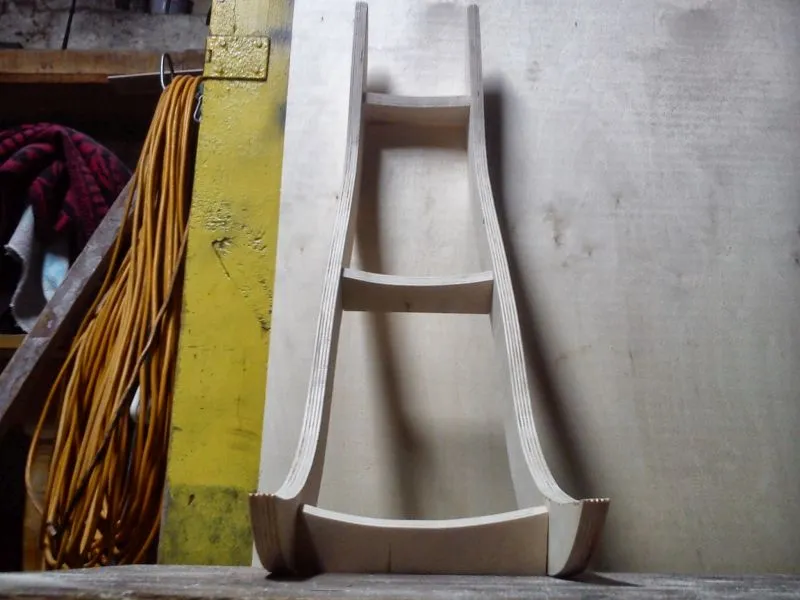
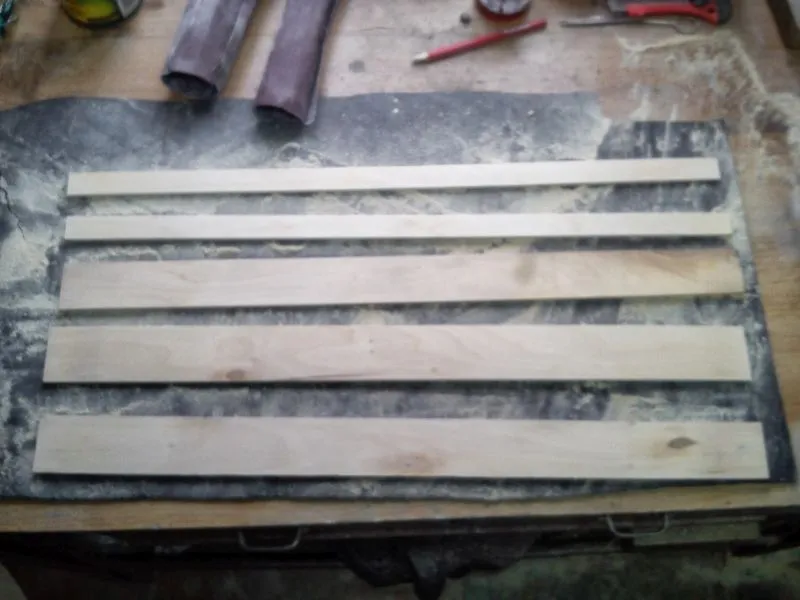
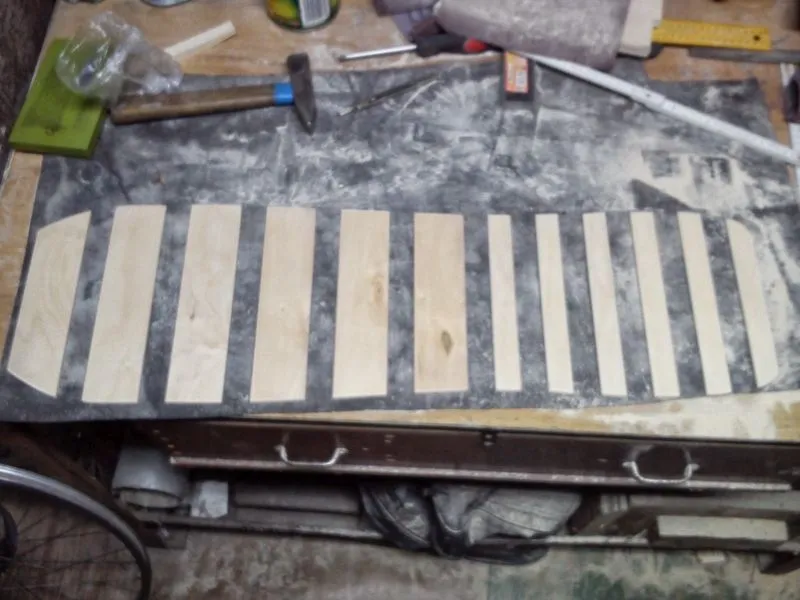
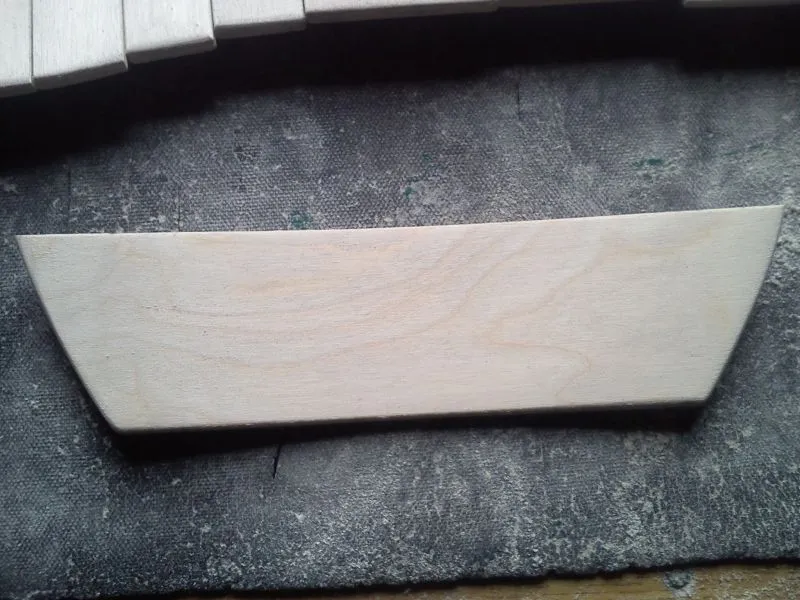
I chose the seat slats from 5 mm plywood, 2 x 60 mm and 2 x 23 mm wide respectively. The photo shows three wide slats, but one was kept as a spare.
After planning the layout of the slats, it was time to cut them. For the seat and lumbar part I used 60 mm slats, while from the chest area to the end of the backrest I used 23 mm ones.
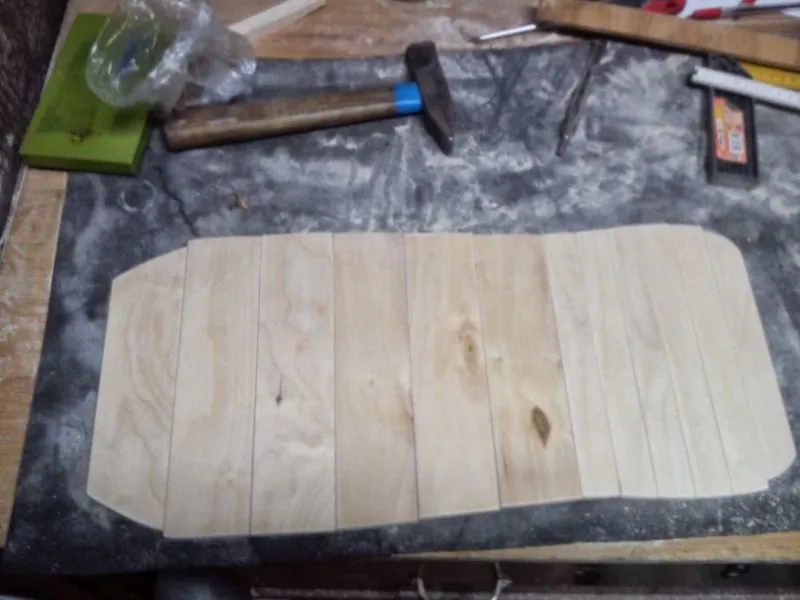
This is how it looks with the intended spacing (30 mm).
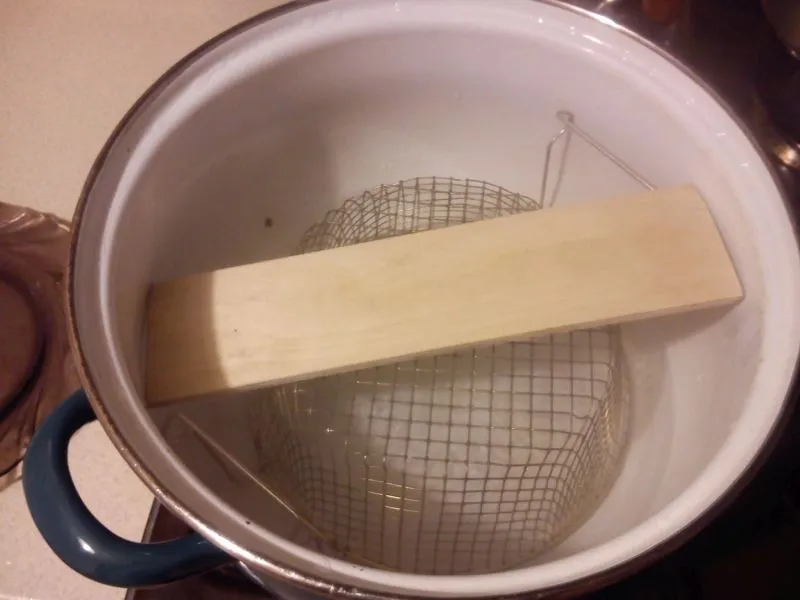
The next step was softening the slats in a purpose-designed device called a “pot”. To make life easier, I put a french fry basket inside, so that the plywood would be soaked by steam rather than water ;)
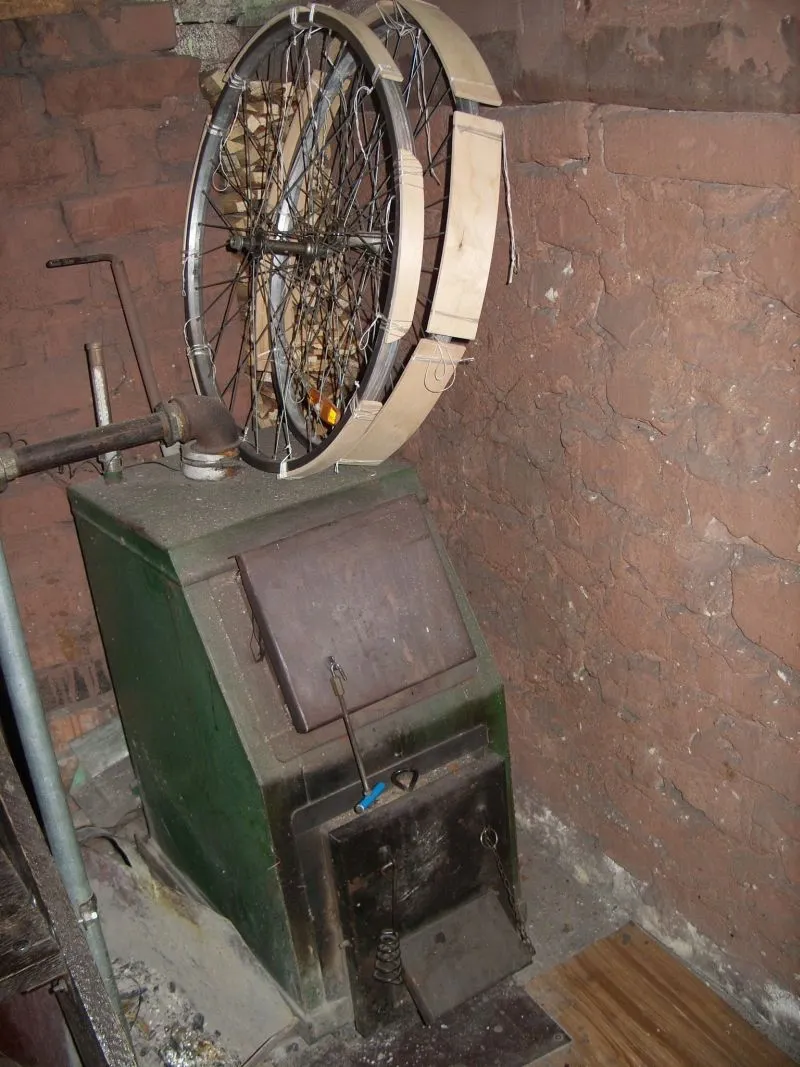
I shaped the softened slats on a 559 rim (thanks to Golden from forum.poziome.pl for suggesting the rim ;) ). I had nothing else to hold the shaped plywood in place, so I used waxed thread. There was little time to take photos between the individual slats, because while I was pressing and then tying one slat, the next one was already softening. Production went smoothly and without trouble. In the end I left two wheels with 12 slats to dry.
After drying, I cut all the strings. I would not have had the patience to untie every one of them :P. But after getting the first slat out, I saw this picture. It did not look great, considering the slats had already been polished for varnishing. Still, a bit of persuasion with 100 and 120-grit sandpaper dealt with it without a problem ;)
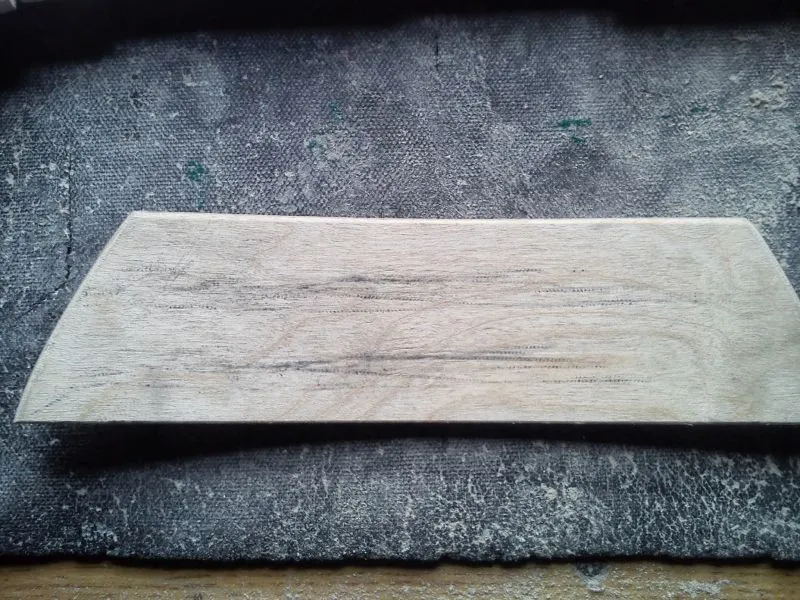
This is how all the slats look after steam shaping. They did not deform perfectly to the shape of the rim, but such an arc is good enough. Unfortunately, after shaping it turned out that one slat had a small defect in one of its layers, hence this small dent. You have to look really closely to spot it on the finished seat.
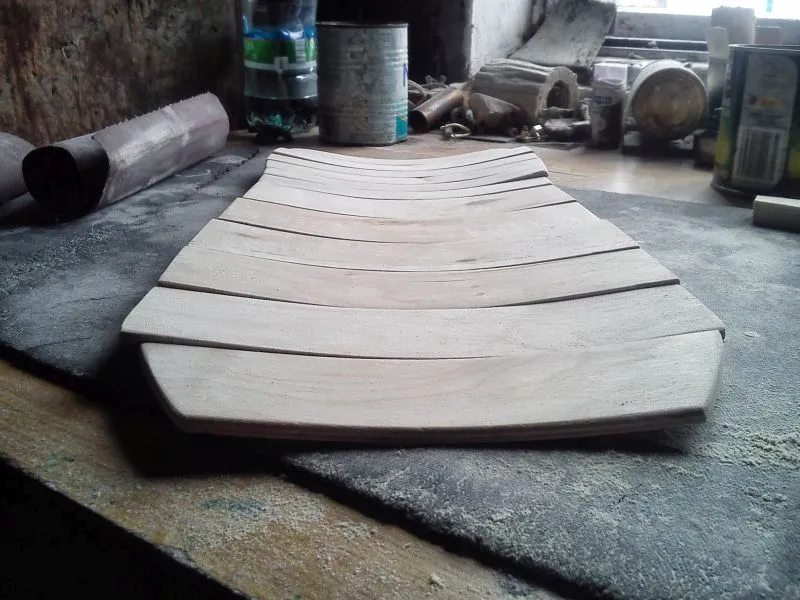
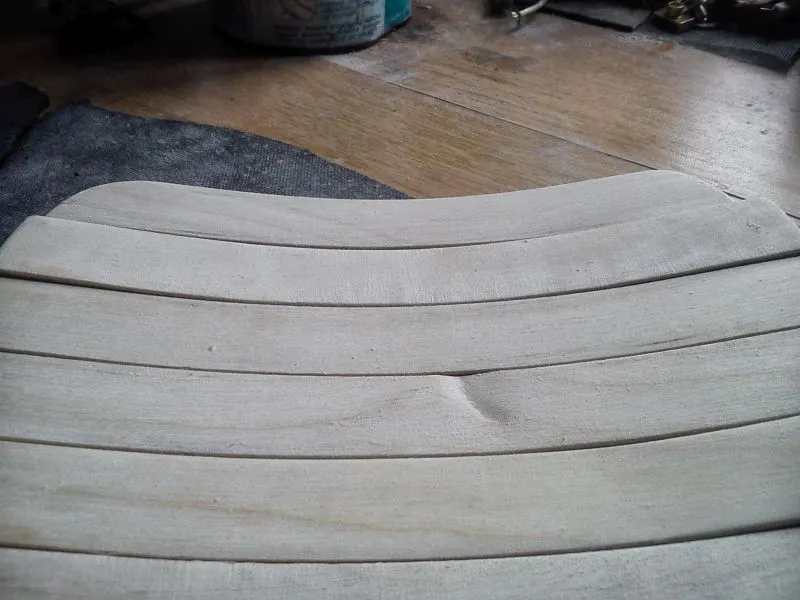
Mounting the slats went very smoothly. Thanks to a 30 mm spacer slat, I could easily screw on the successive crossbars. For assembly I used 2.5 x 16 mm wood screws. They have small heads, and with 5 mm plywood they go into the main profile by about 10 mm. Enough ;)
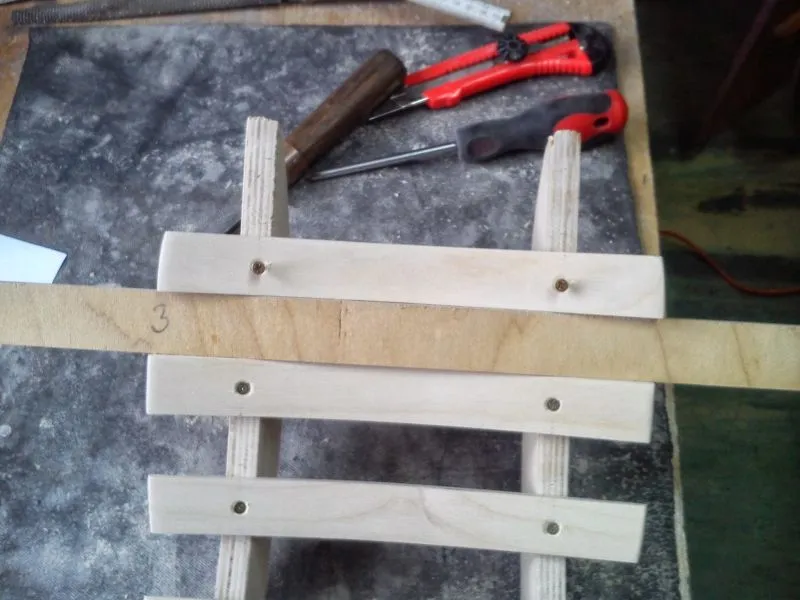
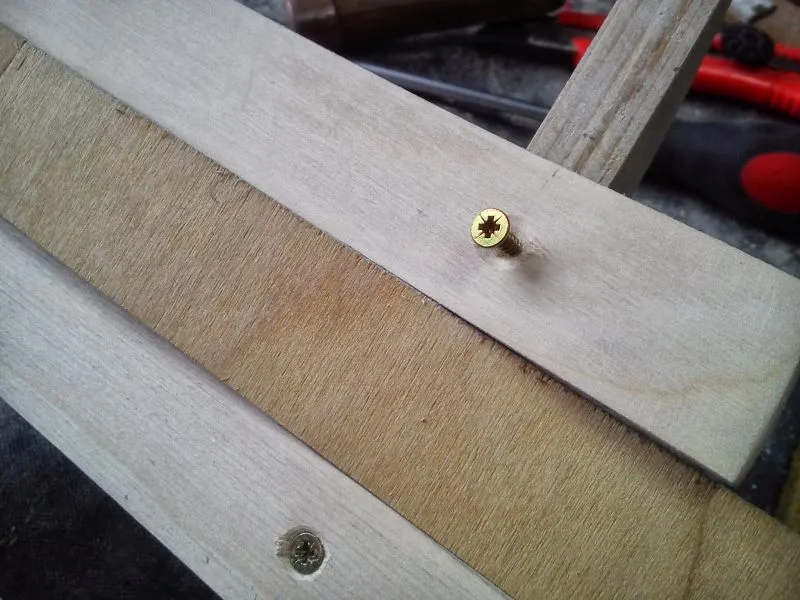
Here is the result, still without varnish.
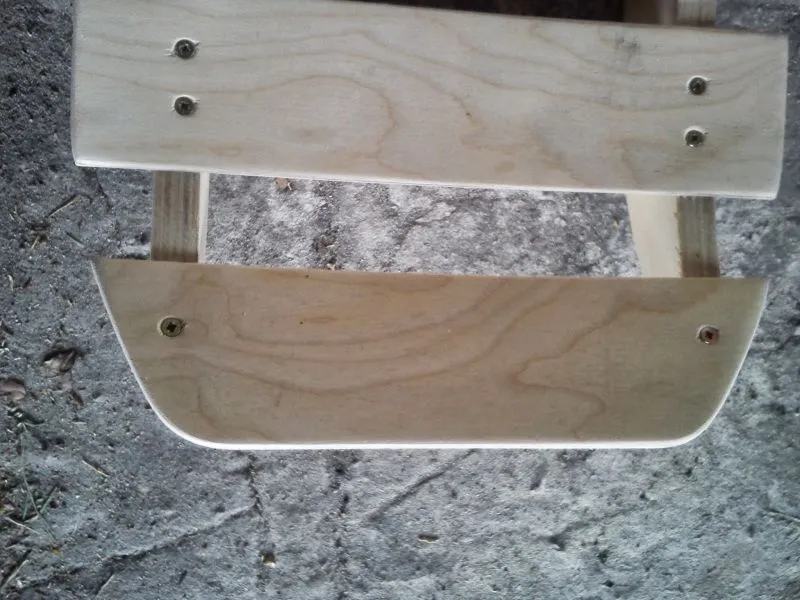
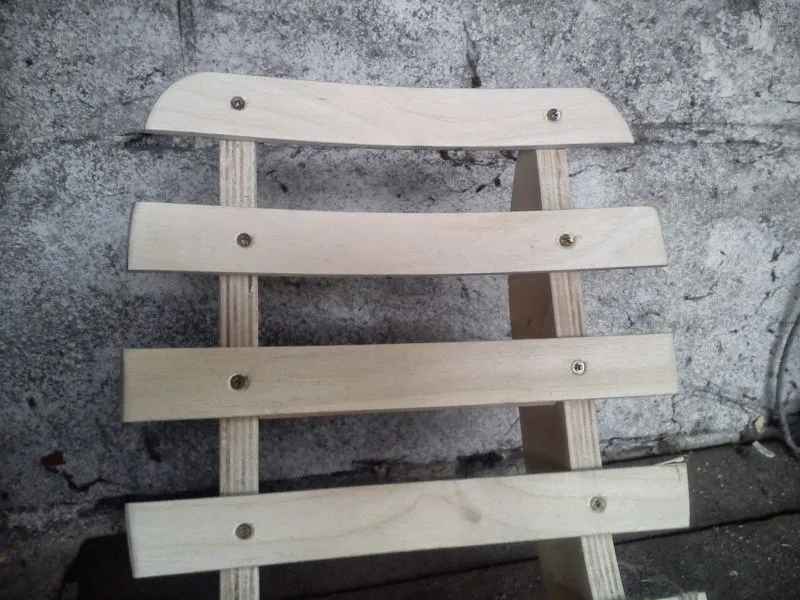
Finally it was time for varnishing. I bought a 200 ml can of Vidaron, a clear wood varnish, and started playing with a brush. The wood soaks up the varnish nicely even though it is quite thick. I put on the first coat the same day, so it could dry overnight.
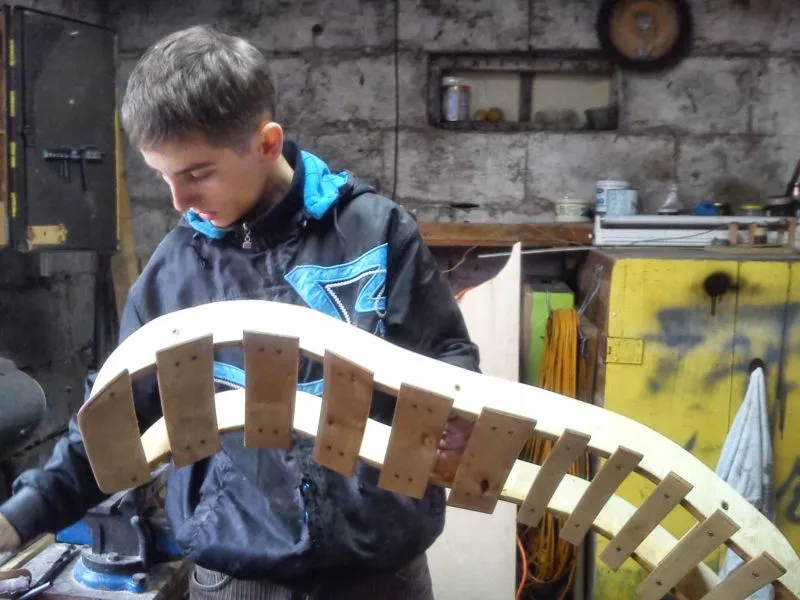
After it dried, I applied a second coat to the seat part, having first rubbed it down with 120-grit paper. The difference is colossal, because the first coat of varnish brings out all the tiny splinters on the surface of the slats, which are not pleasant to the touch. After a light “peeling” and another coat of varnish, the result is great ;).
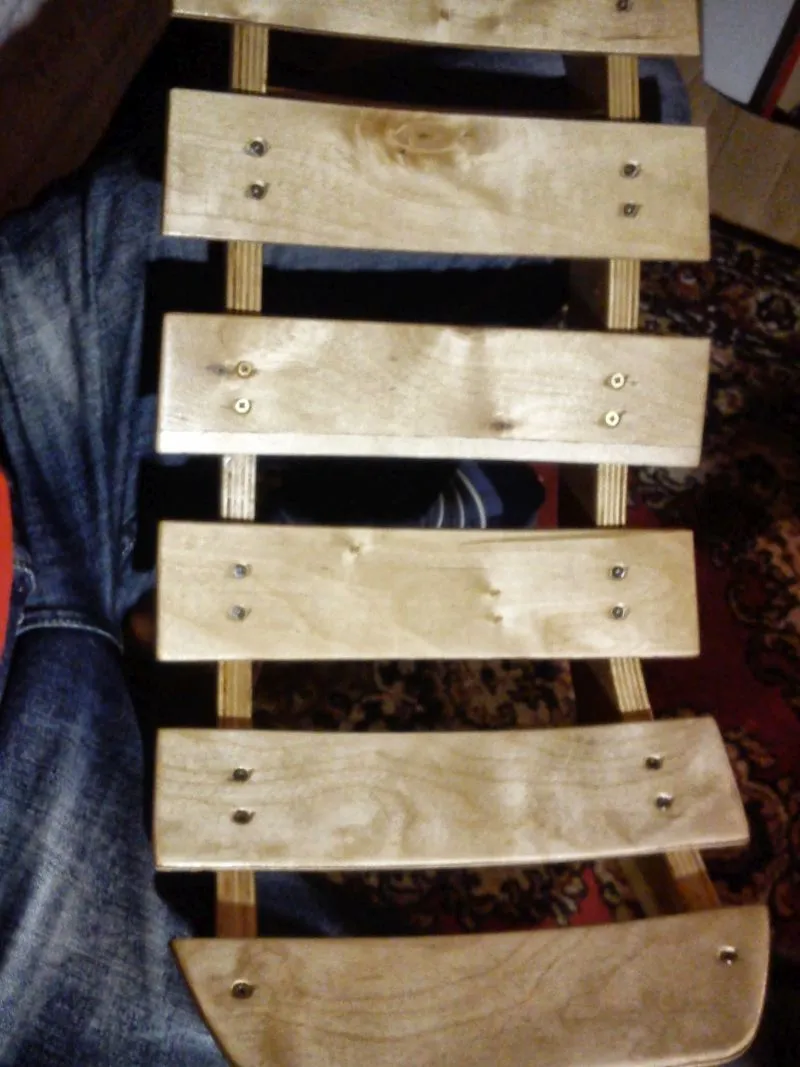
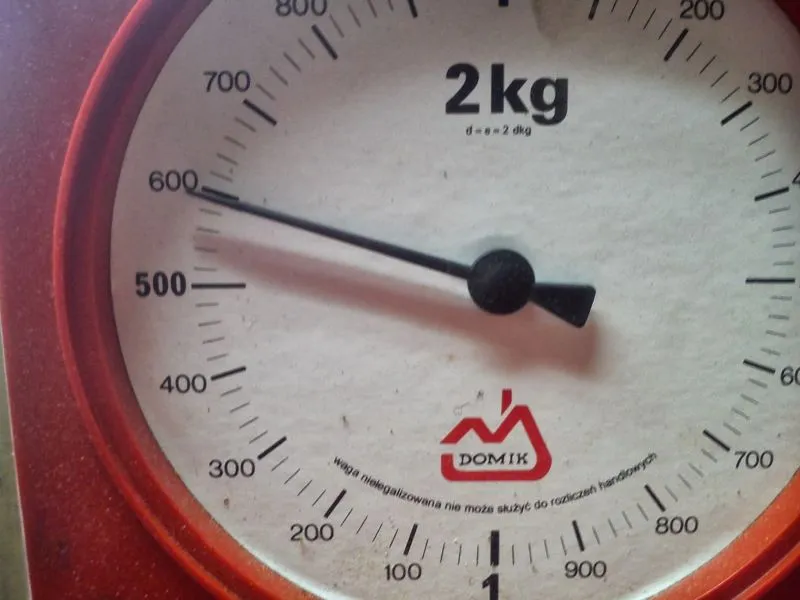
Of course, I could not skip such an important issue as the weight of the seat. Weighed in my hand, it felt like around 2 kg. The kitchen scale showed a magical 1600 grams! For me, that is a great result. If I used 12 mm plywood for the main profiles, I think the weight would drop below 1.5 kg ;)
4. Assembly
Here it is still before welding the supports, both on the head tube and under the seat.
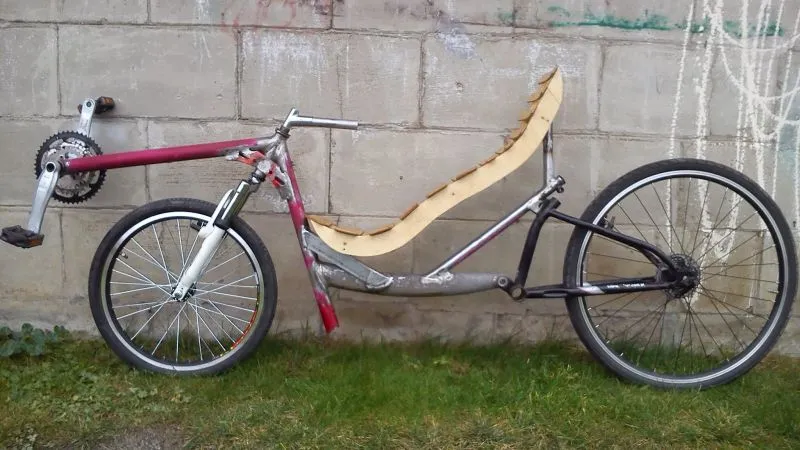
Not much changed since the last welding, but thinking things through and fitting the tubes took some time. Still, it turned out quite well. Here you can see the frame with the wheels and the welded supports (reinforcements), the tube for the seat backrest, and the seat itself. The stem is only inserted to make the bike easier to transport ;)
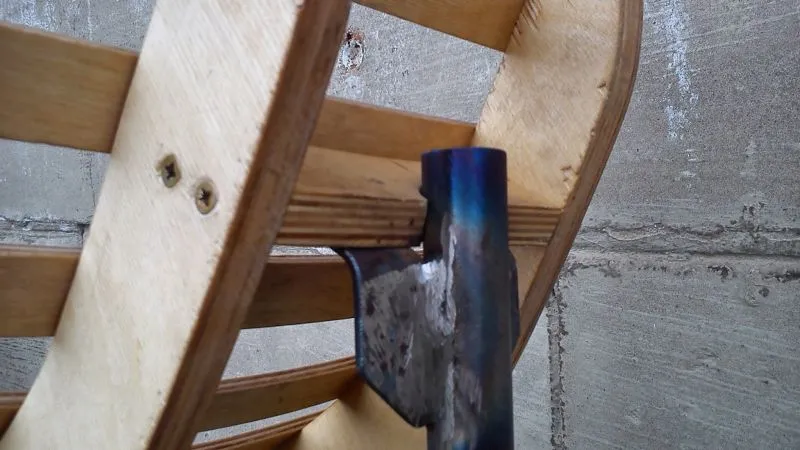
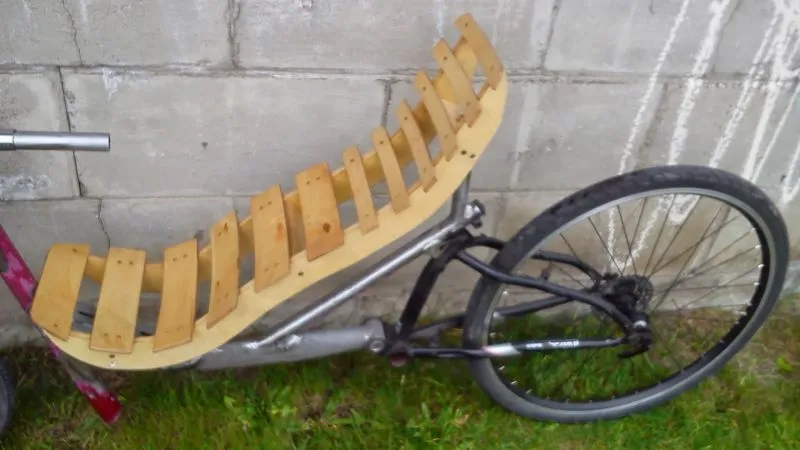
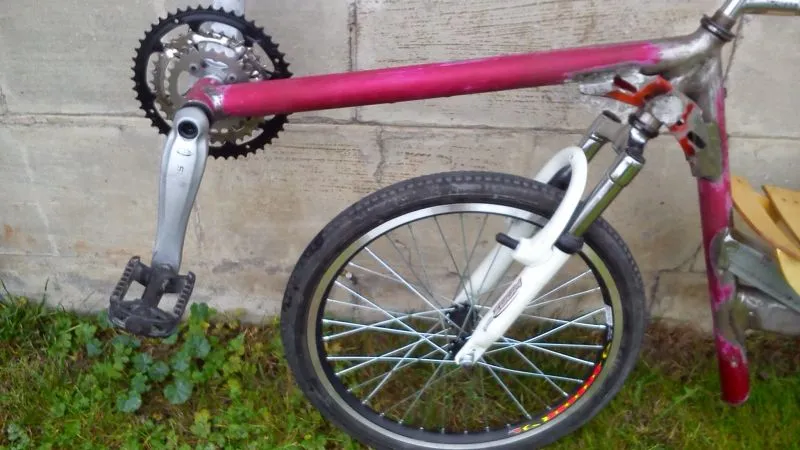
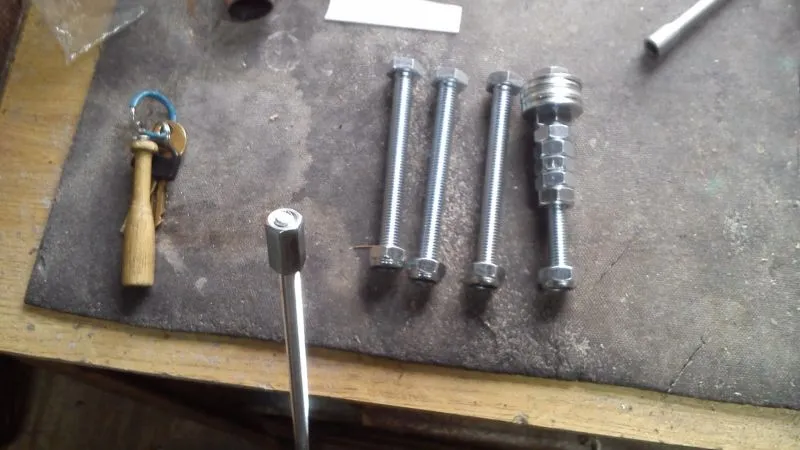
The next stage was the stem, or more precisely its modification. With the seat in place, I could accurately find the handlebar position, and thus the length and shape of the stem. Initially it was only supposed to be moved back (as in the photos above), but that turned out to be a poor choice. The tube inserted into the fork steerer had to be extended drastically. Fortunately, the diameter of that tube is identical to the diameter of handlebars (22.2 mm), so all I had to do was pick a straight handlebar and chop it :P I ended up cutting more than half of one handlebar, but it turned out quite nicely. The photo below shows a set of bolts for mounting the idler rollers and an M8 threaded rod to extend the bolt that tightens the wedge in the steerer.
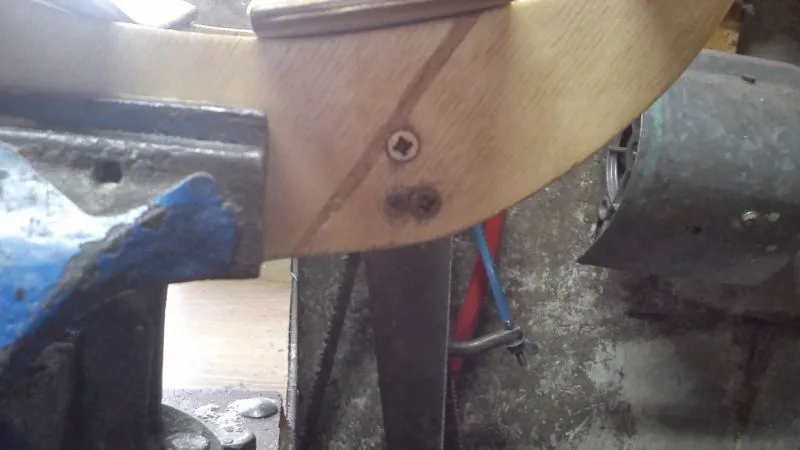
The seat also needed a modification, specifically its small cross connectors. I rushed a bit and screwed them on with two screws before fitting them to the frame. As it turned out later, the lower connector was at the wrong angle to the metal bracket on the frame. The result is an extra little hole, but it will be easy to fill with something (or I will simply put a small screw in there and it will be fine ;)).
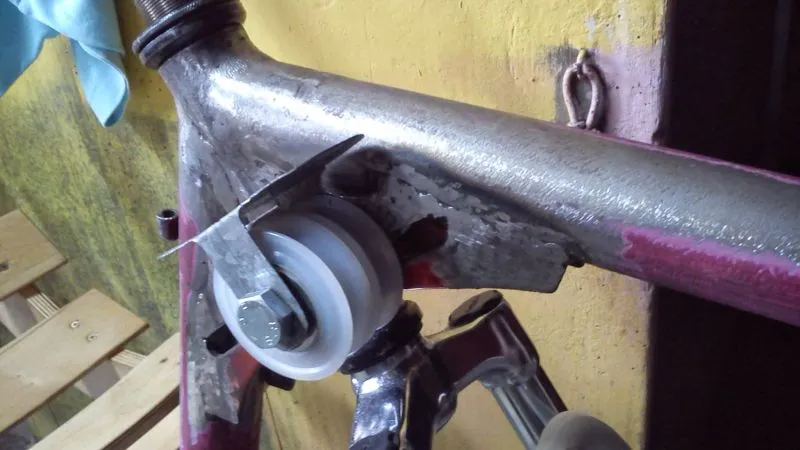
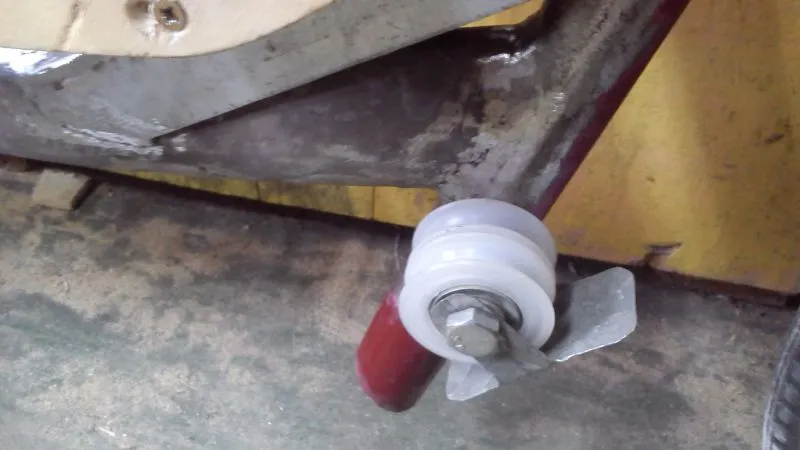
The rollers were the next bit of fun. First I had to prepare the holes for the bolt, which took a while. It could not be done with a drill or any other machine. All that was left was a round metal file and some effort ;) After about 30 minutes of work I got a 10 mm hole going through both supports at the head tube, and mounting the rollers was then child’s play. For the lower set of rollers, I only had to make a hole through the tube for an M10 bolt and screw it on.
I made the roller guard, and with it the mounts for the Tecalan (nylon) chain tubes, from 1 mm steel sheet. A few roller measurements and calculations, a short session with tin snips and a drill, and in 20 minutes I had two protective plates ;)
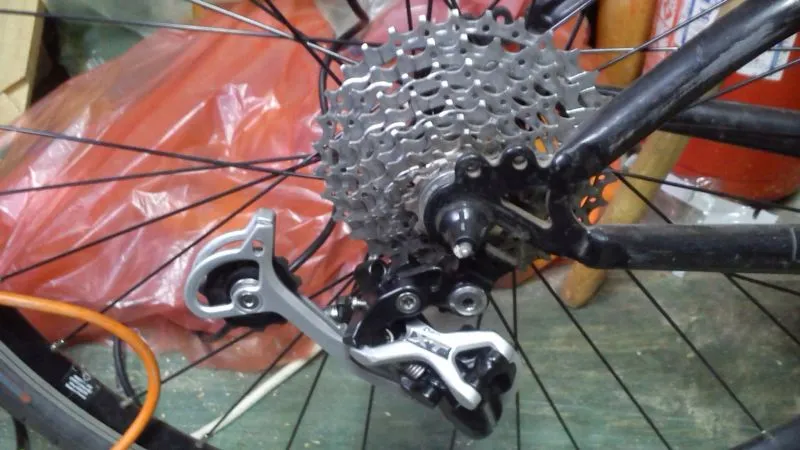
Mounting the rear derailleur is nothing difficult ;) Just screwing in one bolt ;)
Next on the to-do list was mounting the brake and shifter levers. A small problem appeared here, because when I pushed them as far up the handlebar as possible, I hit a curved section, and as we know, clamps do not tolerate such drastic changes in diameter well. The result is a very short grip area for the hand (about 1.5 - 2 cm is missing for the little finger ;) ). For some time I did not fight this inconvenience, but I already knew that a handlebar replacement was ahead of me. That is what happened, but more on that later ;)
Do not be fooled by the grips fitted. If you put a finger in from underneath, you can clearly feel that the end of the handlebar is about 2 cm short of the end of the grip :P
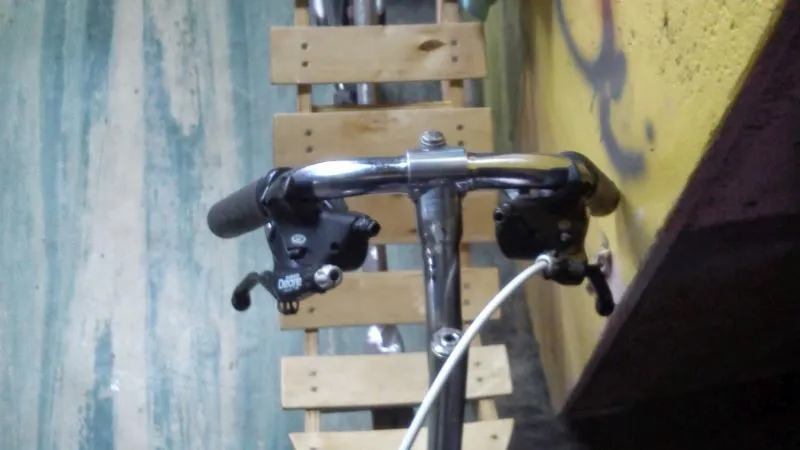
The next stage: brakes.
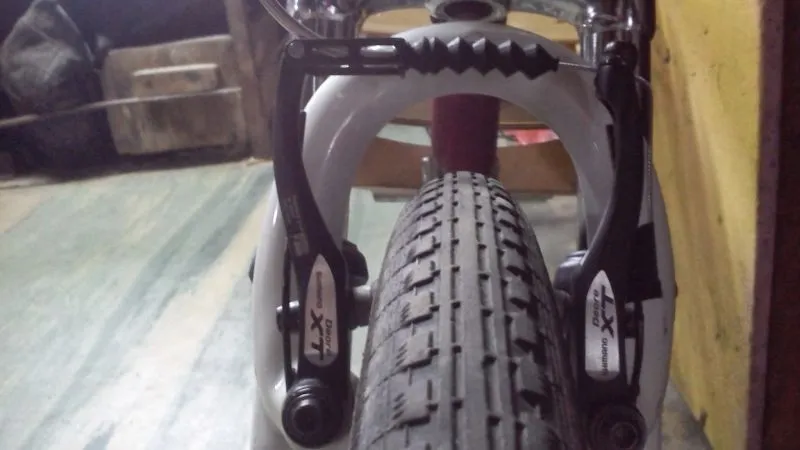
The whole handlebar with cables.
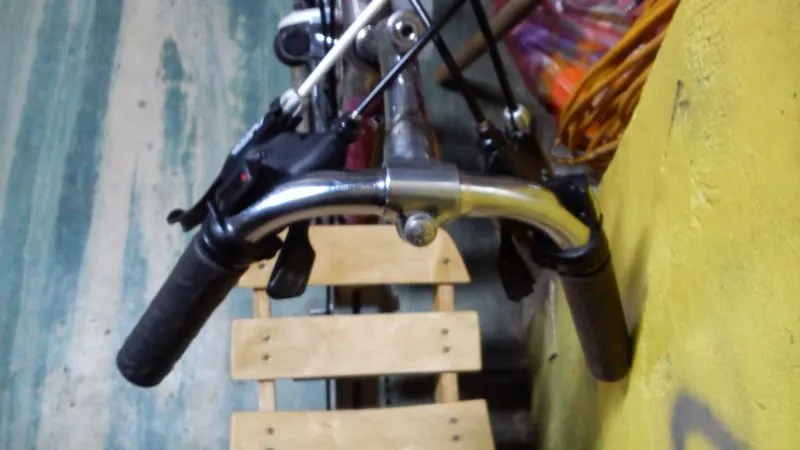
After routing the cables and housings, it was time for the chain(s) ;)
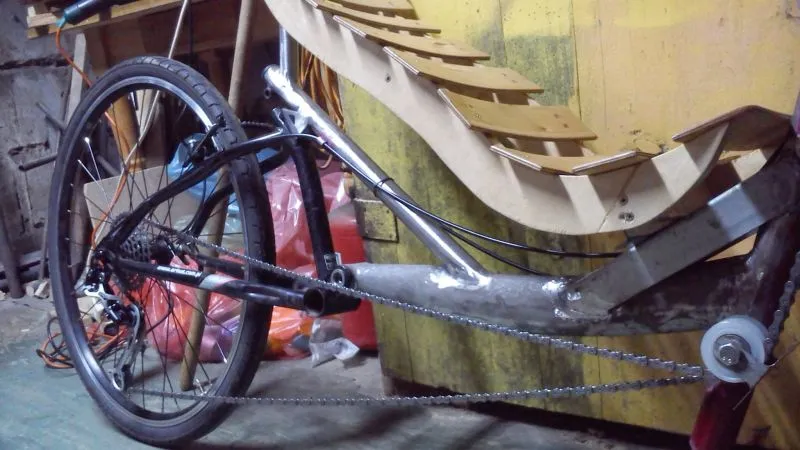
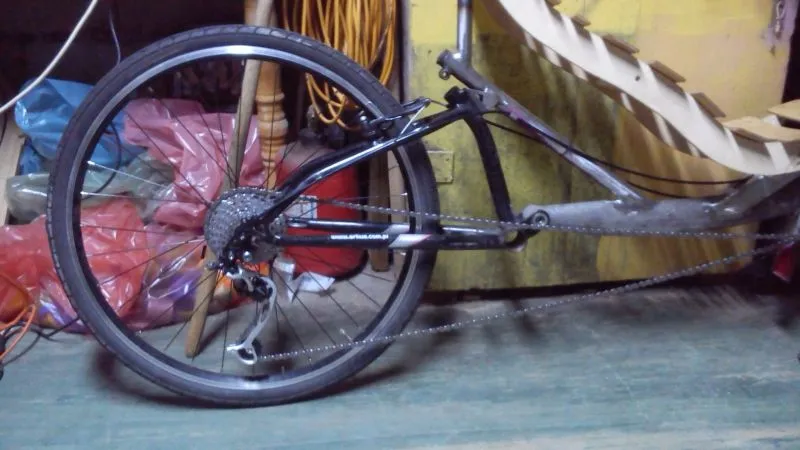
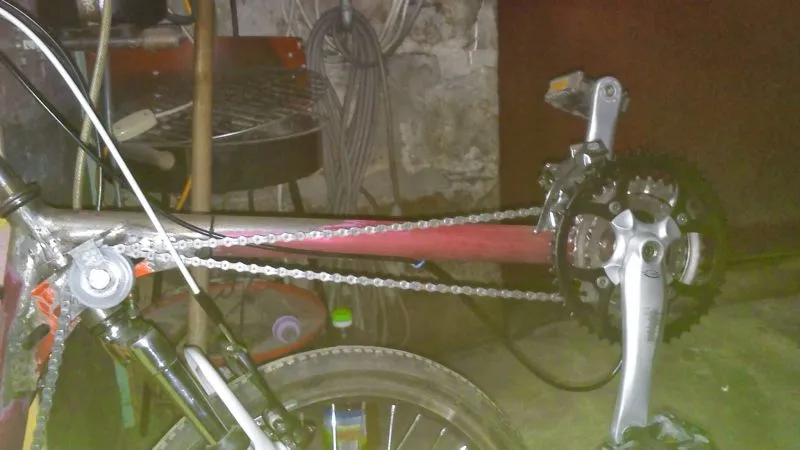
I bought 4 chains in total (one went to my current upright bike), of which 3 were used in this project. Each has 116 links, which gives 441 cm of chain in total. I joined the chains with pins from the set (I had 4 in total) and a quick link, so that I could get this gigantic snake out of the bike if needed ;) Fortunately, the chain needed neither shortening nor lengthening. It turned out very well. With the middle chainring at the front, the derailleur has no trouble handling the whole range of the cassette. It is worse with the small “granny” ring: when shifted to the last or second-to-last gear on the cassette, the derailleur tensions the chain poorly. This does not bother me much, because I ride on the middle ring anyway ;)
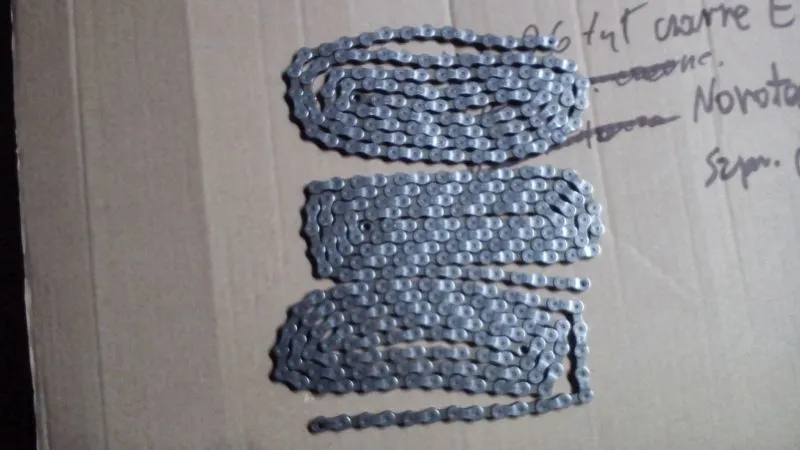
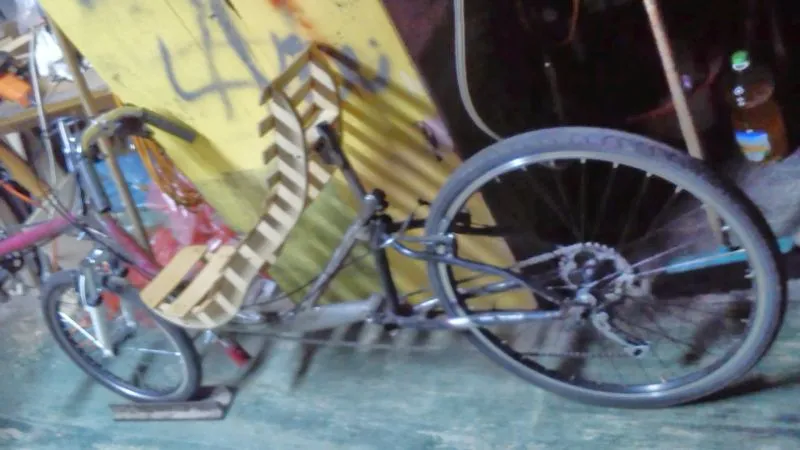
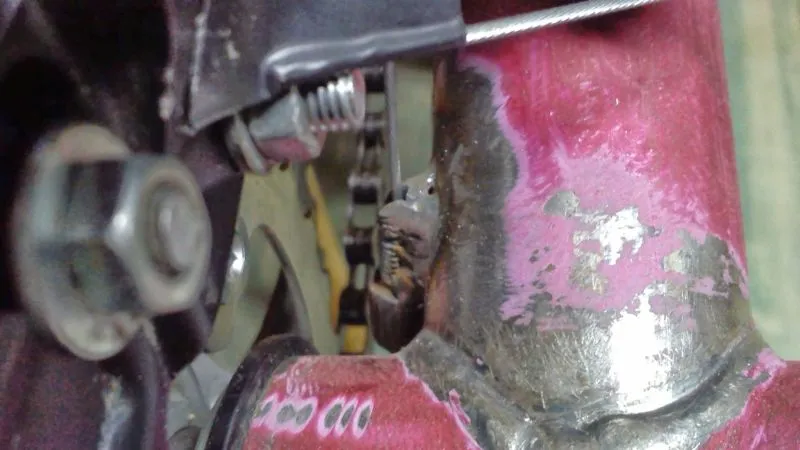
Mounting the chain was practically the last part of the assembly. All that remained was adjusting the derailleurs and brakes. At this stage I already had a great urge to go for a ride, but because of unfavourable weather I had to postpone the first ride to another day. This is how the bike looked at the current stage of work:
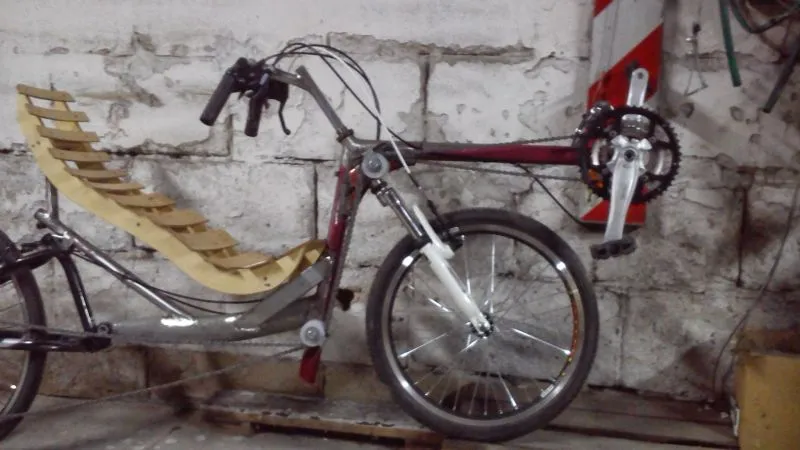
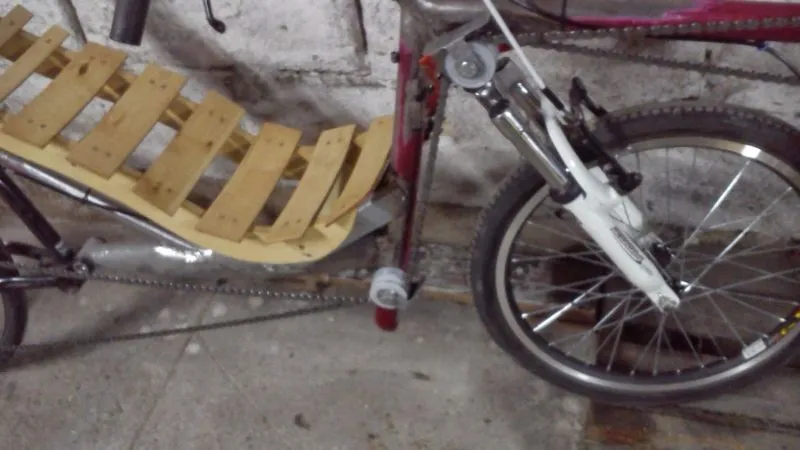
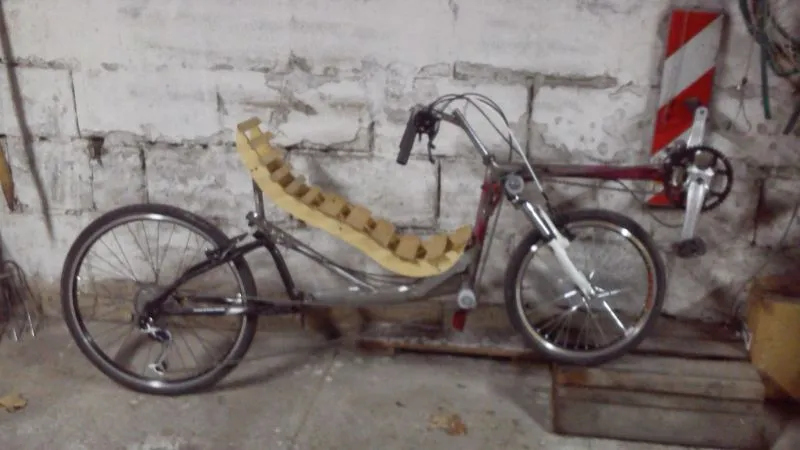
Finally the day came… The impressions from the first ride were out of this world and like nothing I had experienced before. The first few metres can easily be compared to learning to ride your first bike at 4 or 5 years old. But this time practice comes much faster, and after just 5 minutes I could confidently turn around across the whole width of the road (horror of horrors, 5 m wide :P). It might have seemed that this was all, but all sorts of modifications were still ahead of me…
5. Modifications
I was not wrong: the first thing that had to be changed was the handlebar. I removed the old, bent one and put a straight one in its place, cut to 480 mm. That is the right length to comfortably fit the brake and shifter levers and the grips.
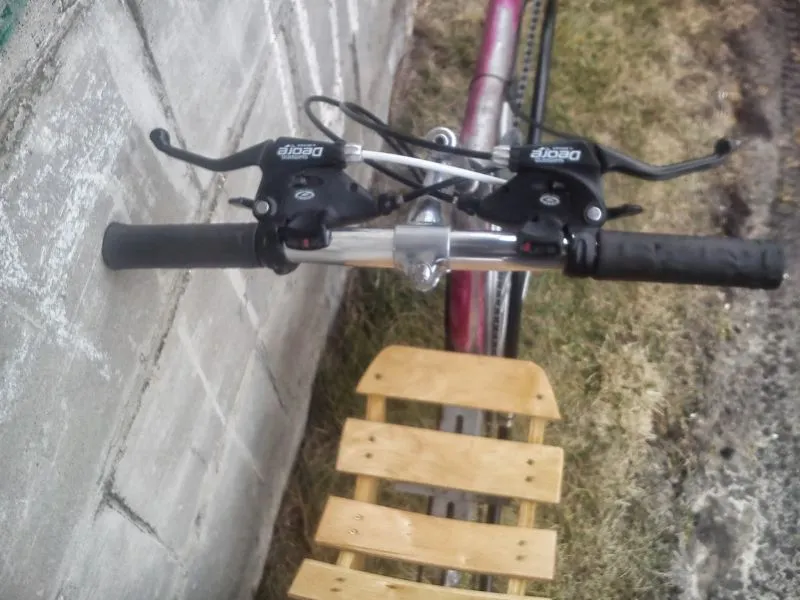
Another matter, one might even say a painful one, was the seat. Because of my slight build, there was a lack of cushioning under my back and behind, which resulted in a few sore spots. A cover with exercise foam padding came to the rescue. The sewn cover had 3 compartments: one under the backside, a second around the lumbar spine, and a third at the shoulder blades. Counting from the bottom, I put in 4, 3 and 2 layers of mat, each layer 5 mm thick. I still ride like this and do not complain much about this solution, though I am the kind of person who likes to change and improve things, so I am looking for a better alternative to the exercise mat here too.
After several test rides, the negative effect of having no mirrors also became apparent. On a bike like this, where you simply cannot glance behind you, riding turns out to be dangerous! I quickly looked online for bar-end mirrors and bought two. The difference was colossal, and safety and inner riding comfort rose to the max ;)
I was able to do the last test rides before the winter of 2013/2014, and as we know, November is one of the rainy months, not very generous with temperature. It was a perfect opportunity for more thoughts on upgrading the project. Mudguards came first, for both the front and rear wheels. The rear one was a bit of a problem, because the swingarm I used did not allow for standard aluminium mudguards, so I had to show a bit of creative invention. I am satisfied with the results. The second matter was shielding part of the chain, which, because of its length and distance from the moving parts, collected dirt like a sponge collects water, so I had to use Tecalan (nylon) tubing. Such parts are hard to get in our small town of Krasnystaw, but I managed! This tubing is used as a pressure line in trucks and agricultural machinery. Here are the results:
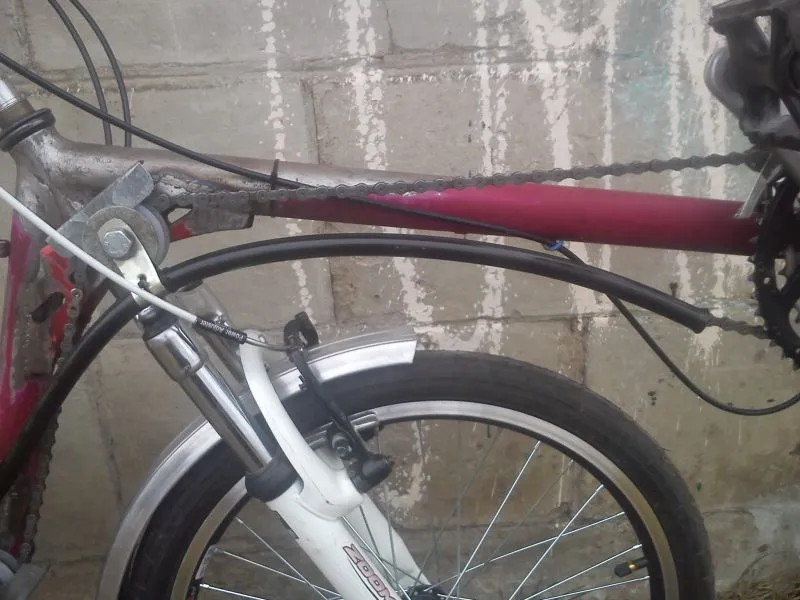
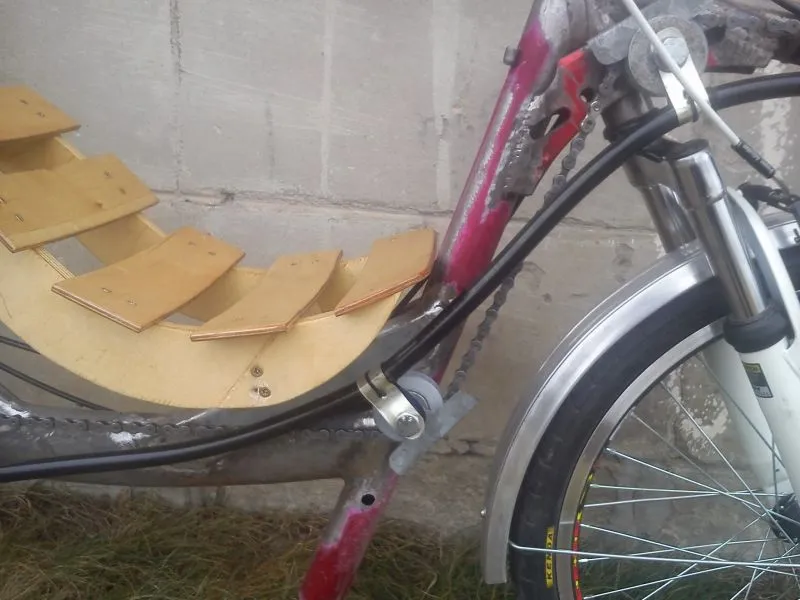
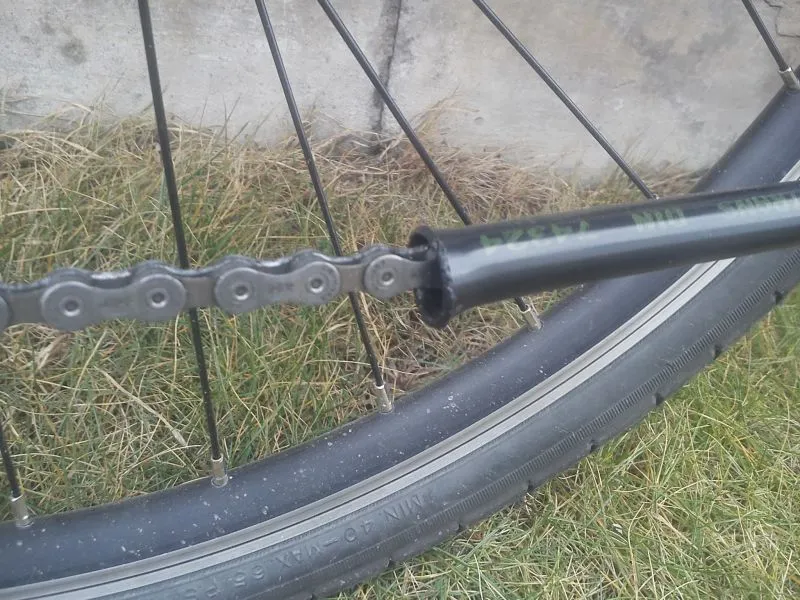
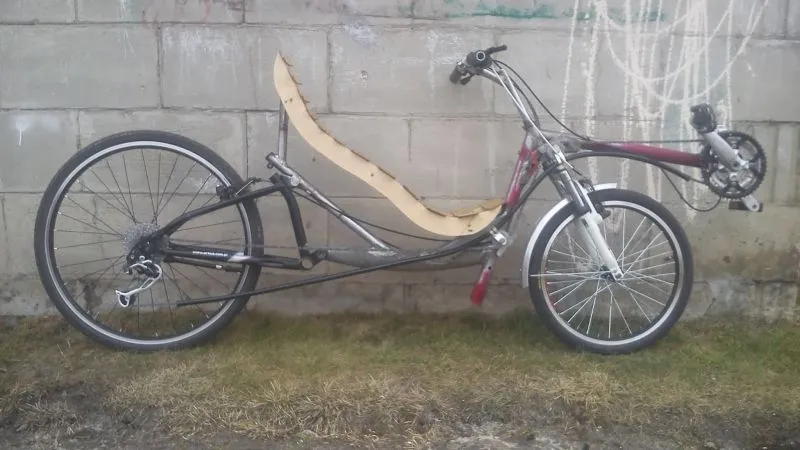
At this point autumn ended, and with it the work on the bike…
However, the winter was very short (or fast) for me, and with the first warmer days I got back to work.
6. Painting
I could not stand the hopeless varnish (or rather the lack of it, ugh) any longer, so I bought an aerosol anti-corrosion primer, plus a paint in a colour that caught my eye, and which my sweetheart had pointed out to me earlier ;) greetings ;)
Generally speaking, I started taking the bike apart the same day, and after just an hour of work I was cleaning all the nooks and crannies of rust spots and paint remains. Not everywhere went as planned (my uncle was supposed to lend me a sandblaster, but he fell ill, so I had to make do with a metal file, a wire brush for the drill and sandpaper), but the effects were visible after the first hour. It was not easy, but having watched other work on cleaning steel before painting, I preferred to put in the effort so that after the season I would not have an unwanted “texture” under the paint.
I did not manage to take photos during cleaning, because my hands were smeared with whatever was on the frame all the time, but I can show off photos from the painting stages.
In total, two coats of anti-corrosion primer went on. It dried quickly (surprisingly :o), so I did not have to wait long to apply the next coat. After two coats I allowed myself to wait about an hour so the primer would dry not only on the surface (to the touch ;)) but a bit deeper. While the sun was still shining, I started applying the top colour. In total I applied 3 coats. The paint itself has a pleasant colour and small glittering specks, though it still needs a bit of polishing.
And the photos I mentioned:
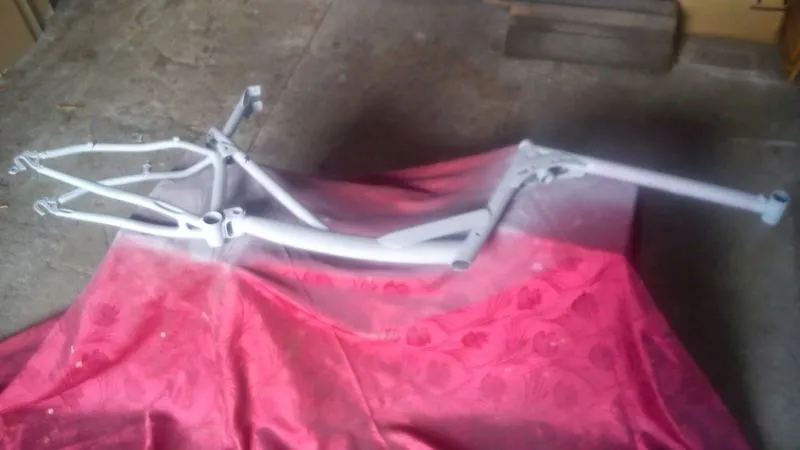
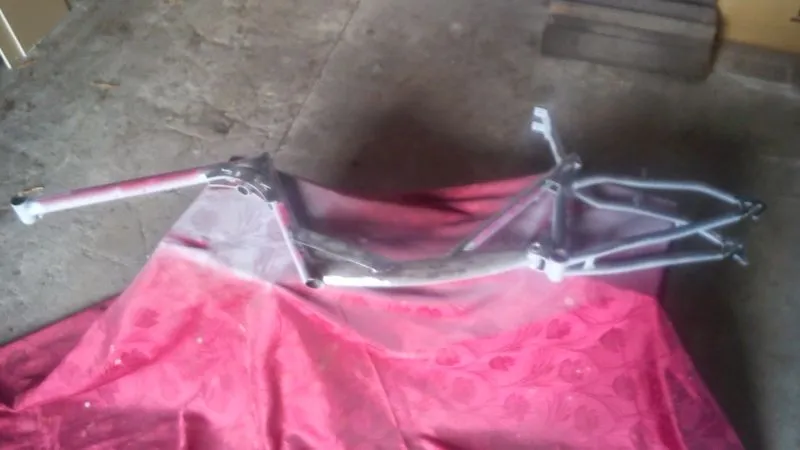
The other side, just before the primer:
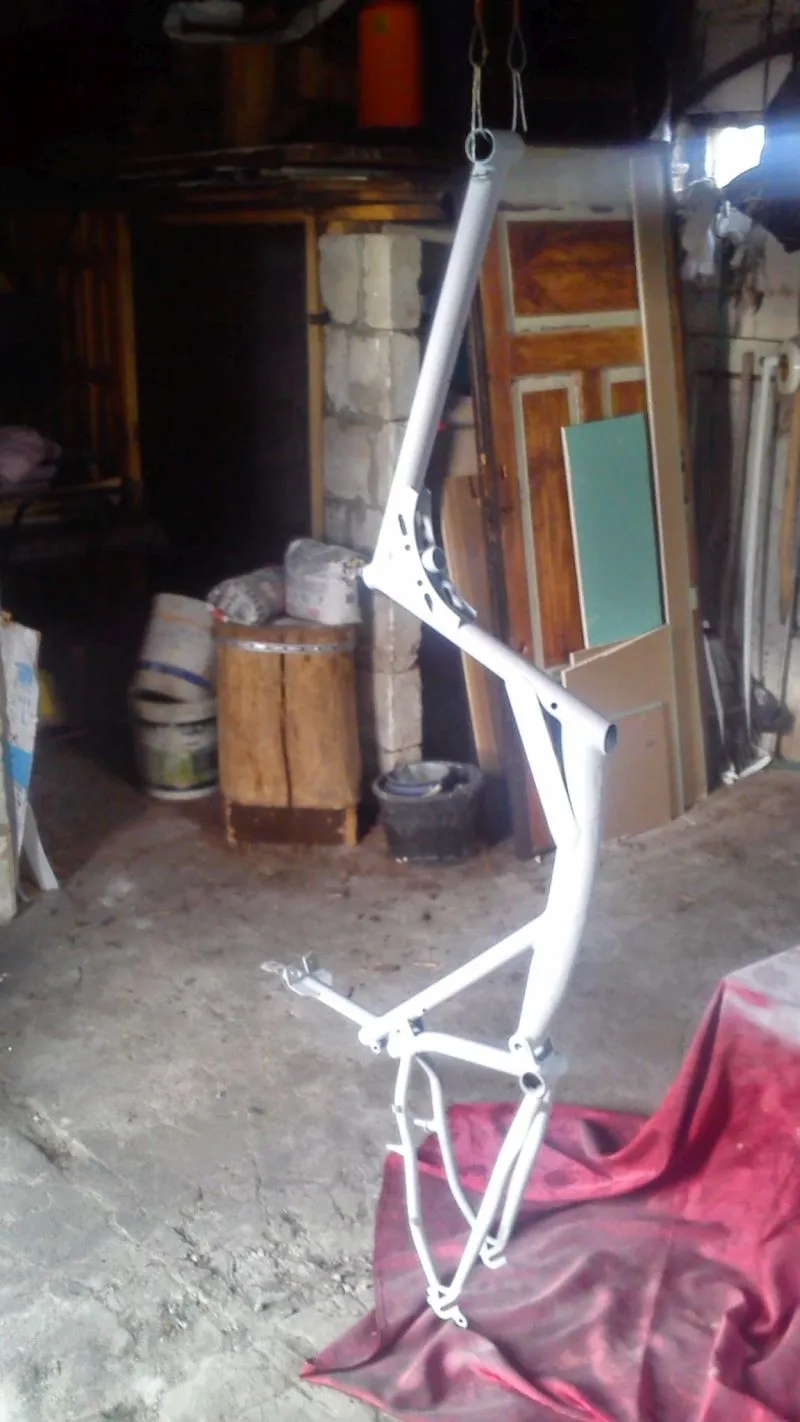
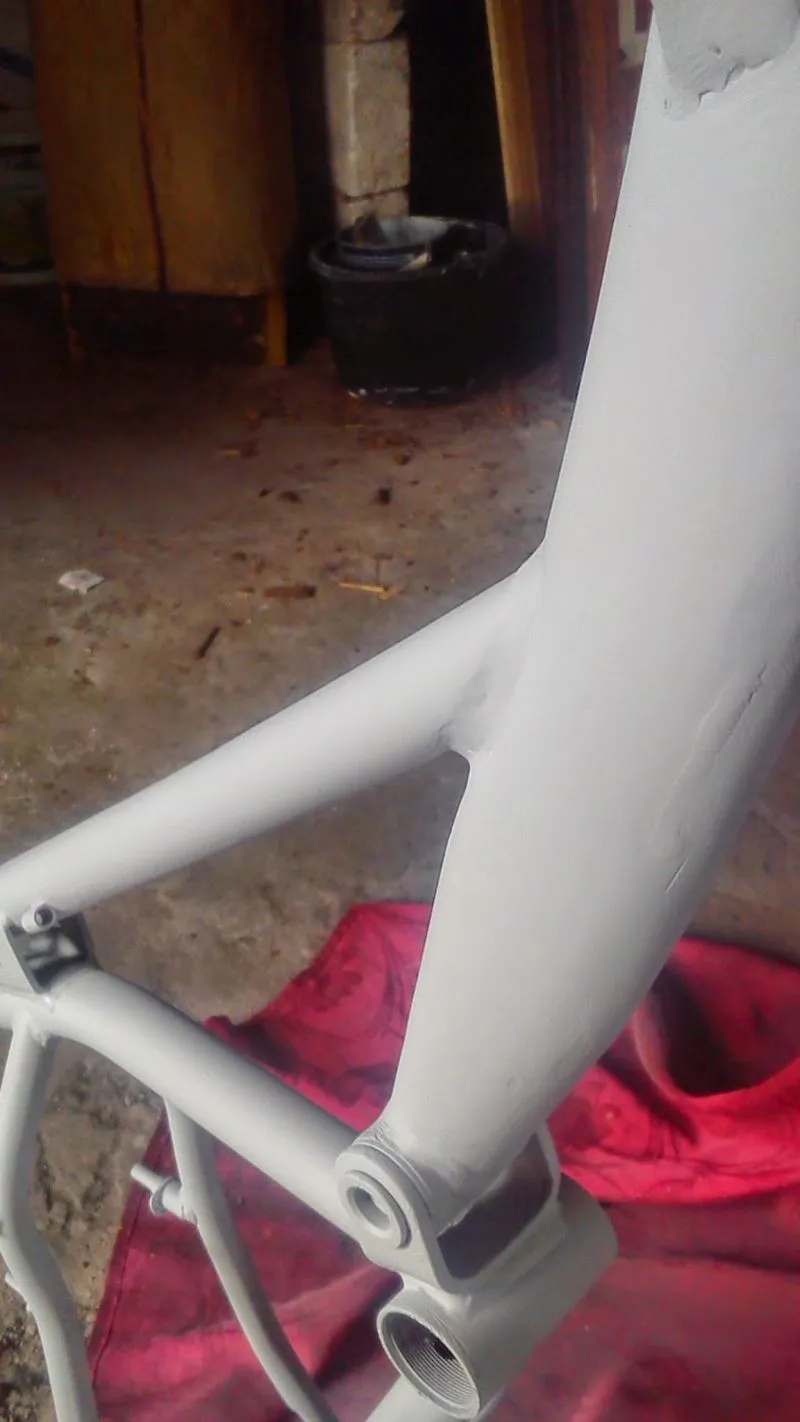
After two coats of primer:
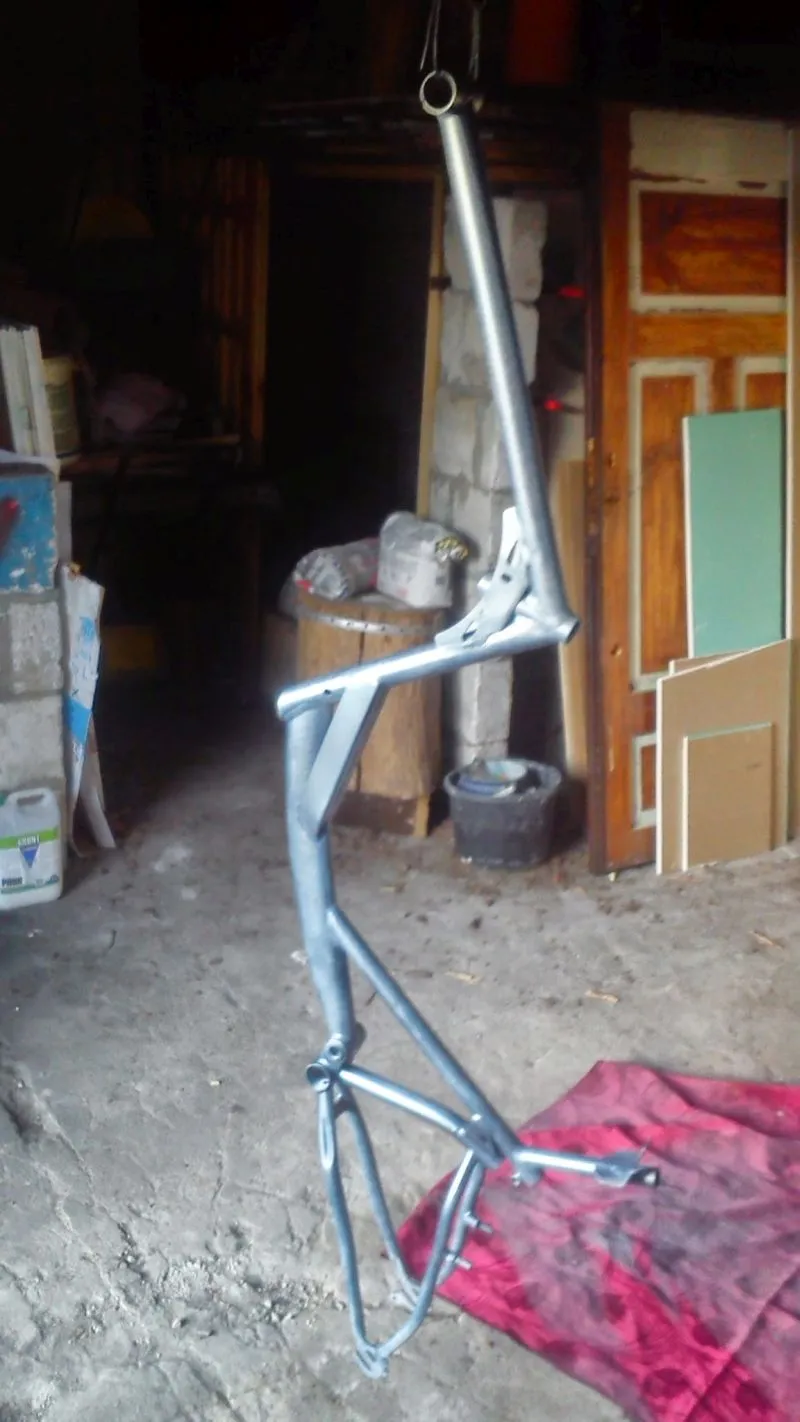
Time for three coats of paint…
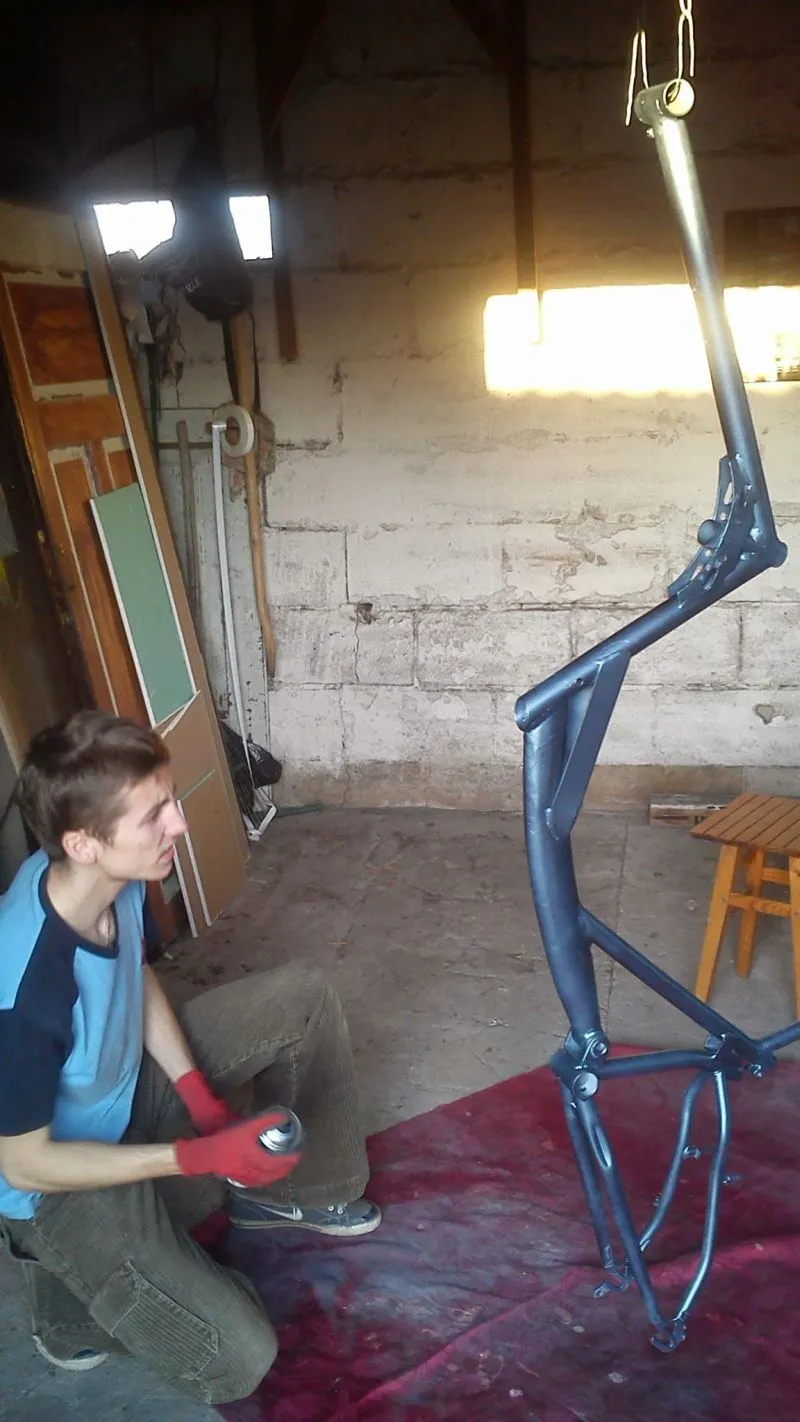
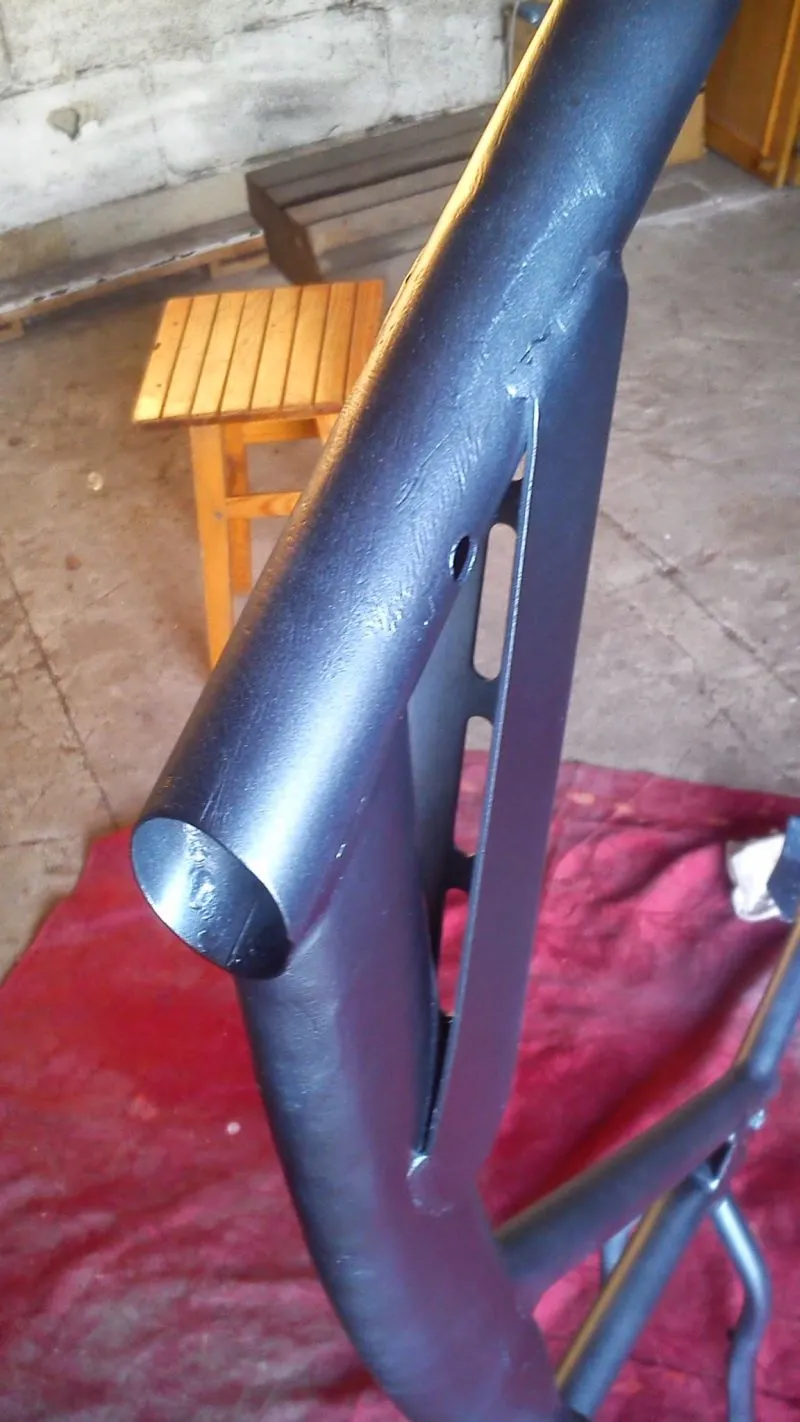
To sum up the painting: I put 3 coats of coloured paint on the frame, and 3 more coats of clear lacquer over it. It all turned out quite well, apart from some parts that I did not sand thoroughly enough. Still, compared with what it was before, it is night and day! ;)
As a surprise (for you and for myself), I went all out and also painted the fork and mudguards. The painting procedure was the same as for the frame, though the mudguards got a slightly thinner layer of primer because the contents of the can ran out at a surprising rate ;) Colour and clear coat: 3 coats each.
And now a few photos:
The set of painted parts:
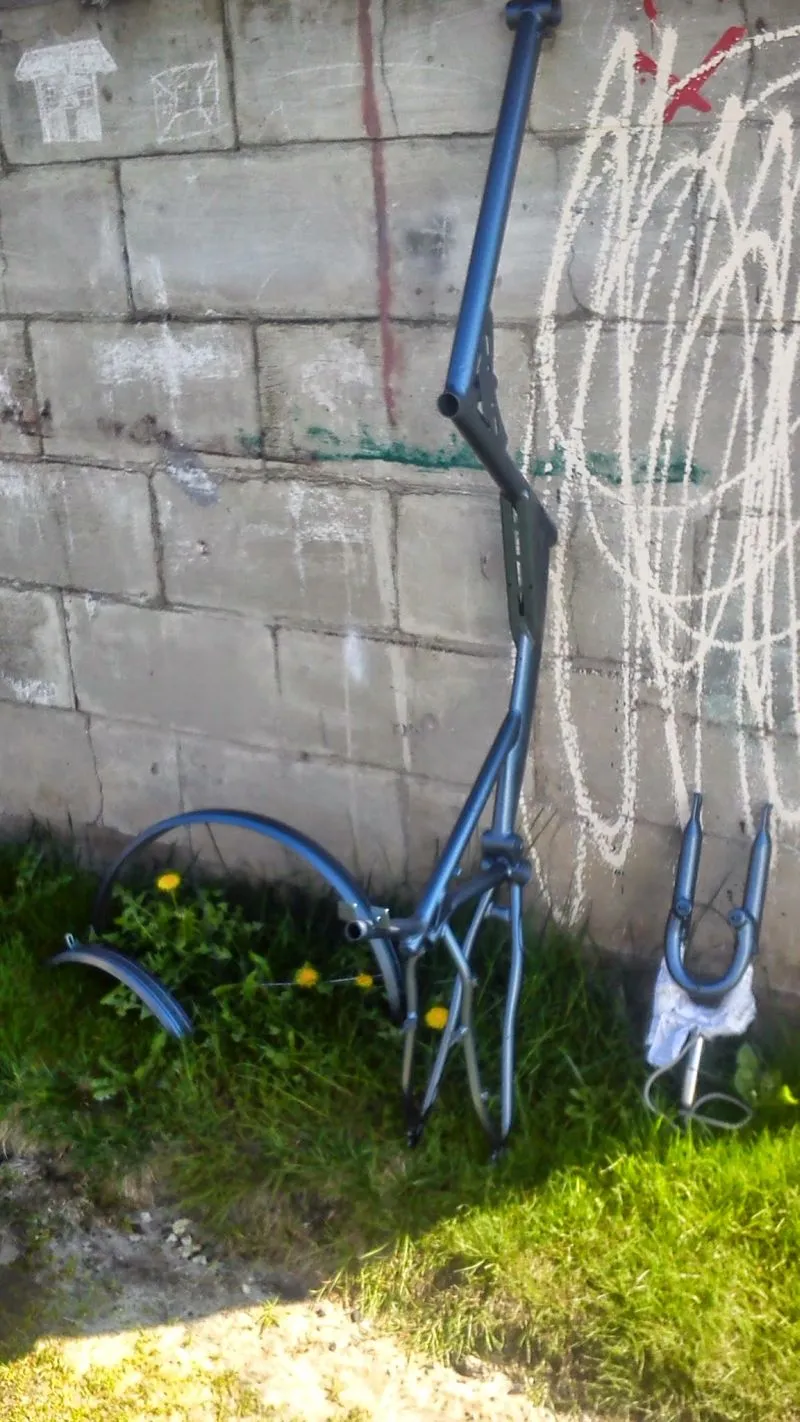
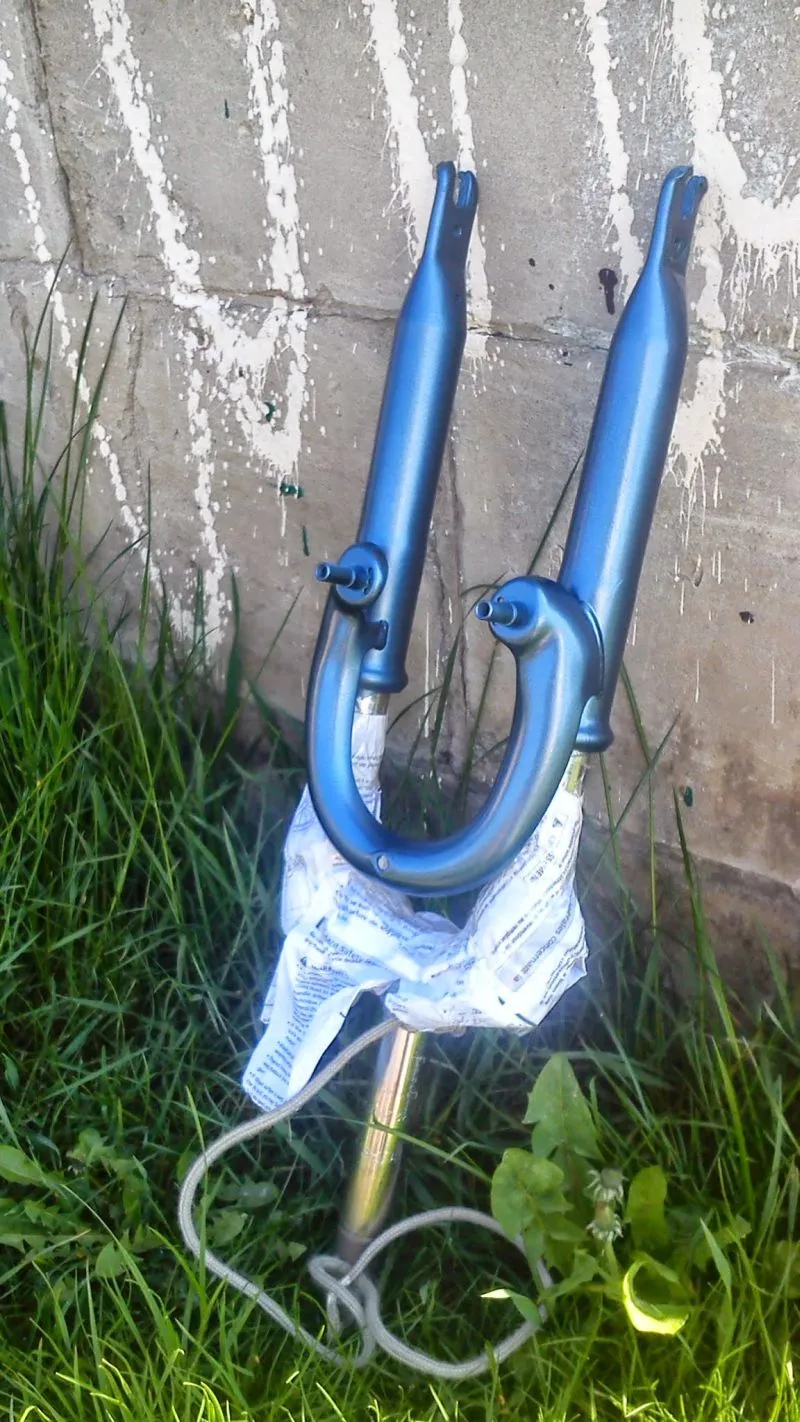
Stage one: fitting the fork:
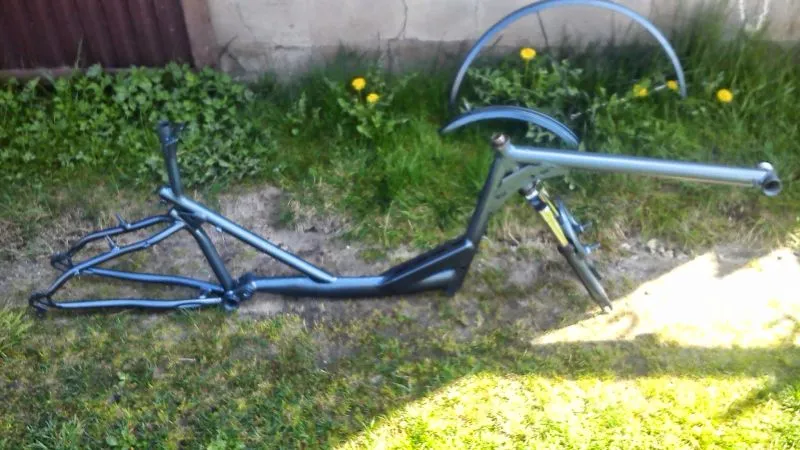
Second: bottom bracket and front derailleur:
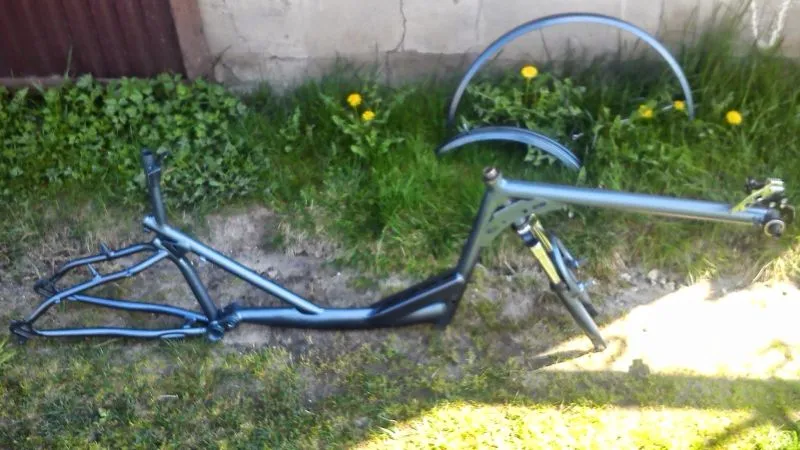
Crankset to complete the set:
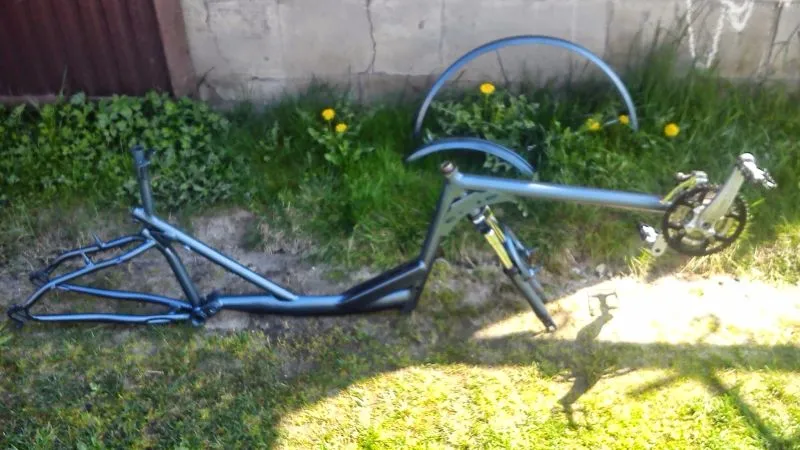
Tecalan (nylon) chain tubes were not left out either:
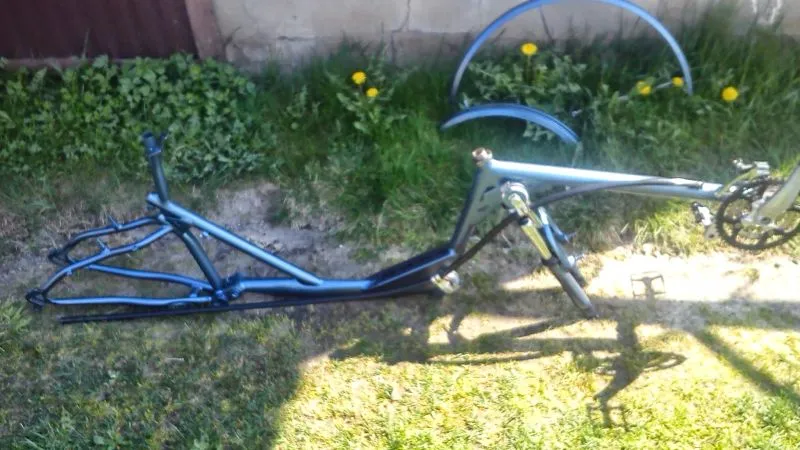
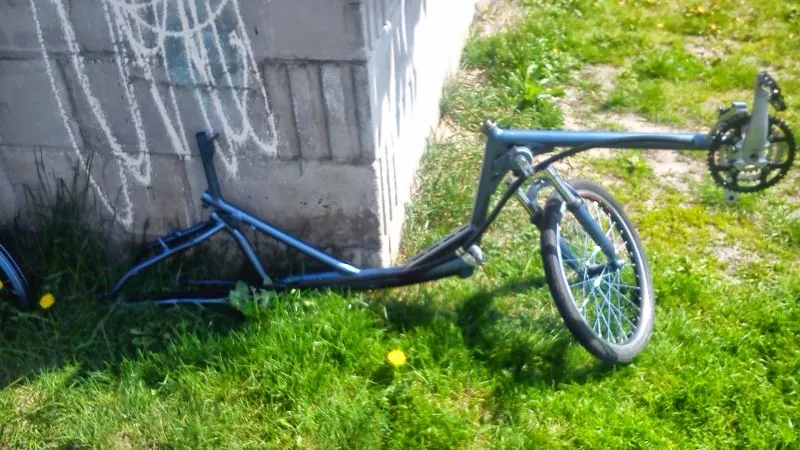
The front wheel…
… and the rear one, along with the kickstand
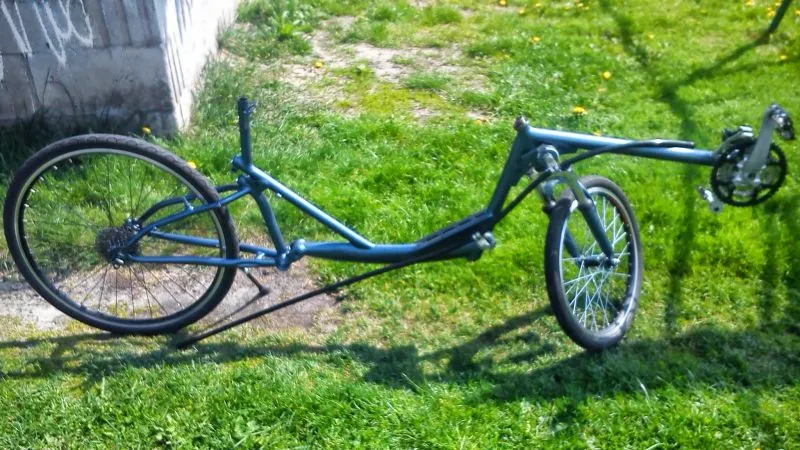
The drivetrain is ready! The missing chain and the rear derailleur are in place.
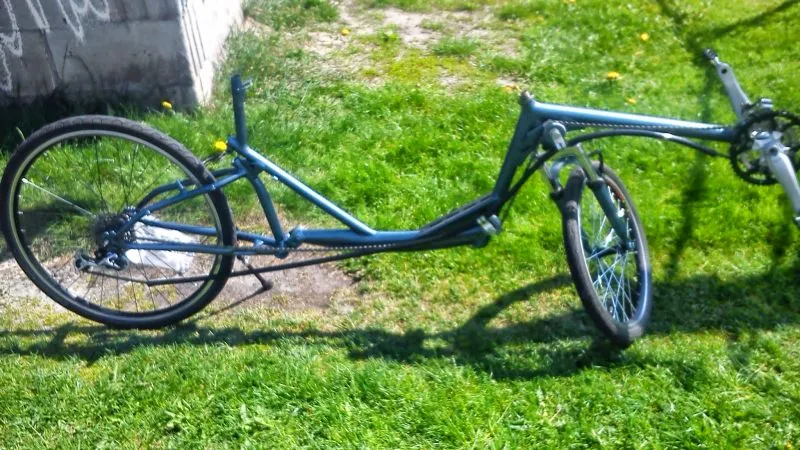
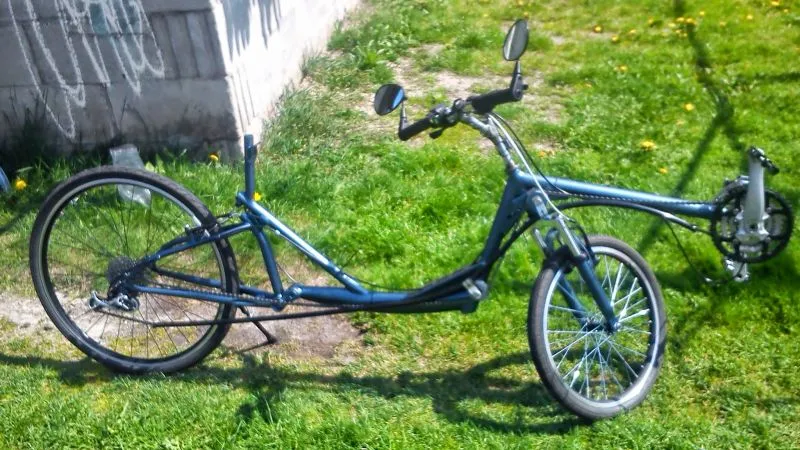
The handlebar and all the cables are back in their places:
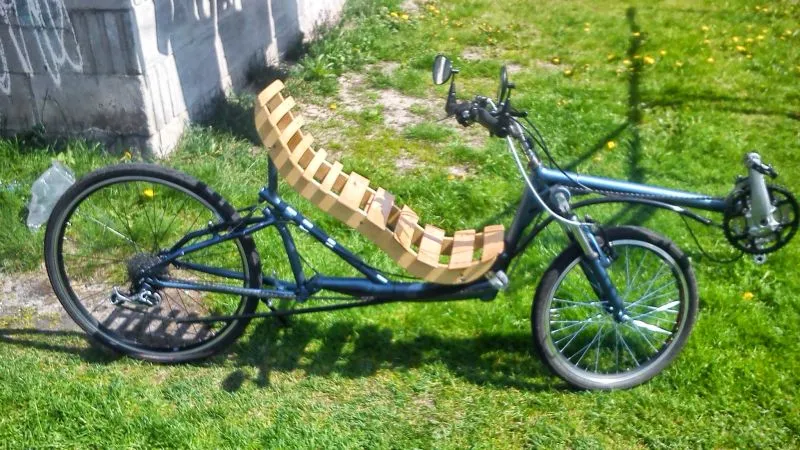
The most important part, the seat:
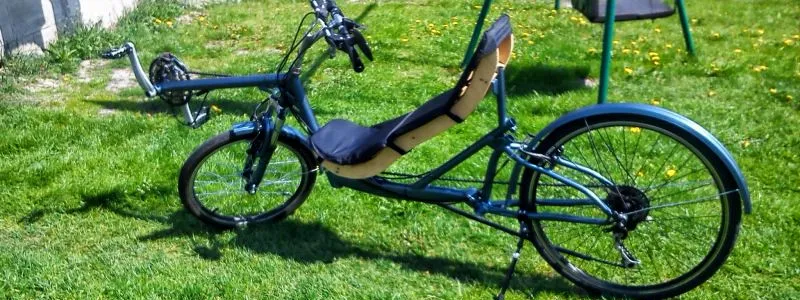
The mudguards and seat cover have taken their places, and the bike is ready to hit the road ;)
7. Specification and summary
Every build, whether it is a household appliance, a car or a sports device, is great fun. Learning different methods of making parts, their functions and how they work is very educational. It was no different here. It is nice to watch what is born in your head become real, and then delight the eyes of the owner and everyone around.
As of today, whenever I ride into the town of Krasnystaw, I always meet smiling faces, some people do not even hesitate to wave, and among the youngest all you hear is delight and the question “what kind of bike is that?”
I rate the whole thing very positively, and anyone who has doubts about building, buying or even just riding such a bike is welcome to discuss it with me. I am sure that most of you would switch from a seat that jabs you in the backside to a comfortable armchair.
The bike was built with the help of users of the poziome forum, in this build thread on forum.poziome.pl (a Polish forum about recumbent bikes).
Short specification:
| Parameter | Value |
|---|---|
| Overall length | 2165 mm |
| Wheelbase | 1320 mm |
| Seat height | 410 mm |
| Bottom bracket height | 575 mm |
| Seat backrest top height | 850 mm |
| Stem height | 845 mm |
| Maximum height (including cables) | 860 mm |
| Rear wheel | 26” |
| Rear tyre | Kenda Kwest 26 x 1.5” |
| Front wheel | 20” |
| Front tyre | Kenda Kwest 20 x 1.5” |
| Cassette | CS M770, 11-32T |
| Crankset | FC M540, 26/36/48 |
| Bottom bracket | BB ES30 Octalink |
| Brakes F+R | BR M770 |
| Brake/shift levers | ST M510 3x9 |
| Chain | 3 x CN HG53 (348 links) |
| Front derailleur | FD M770-e |
| Rear derailleur | RD M772 |